Creating a photograph is a pretty cool thing! We photographers are manipulators of light, since it’s really just light that creates an image – after all – you can’t take a picture in the absence of light!
Light and how it reacts to a subject to create color, texture, contrast and shape is what creates a photographic image. It is this play of light casting shadows and creating depth that tells your eyes and brain that this is a three dimensional image. If you think about it, a photograph is a two dimensional object – but when you look at it you see three dimension. One trick we photographers use to give the illusion of depth is to have our subject in the foreground very sharp, but to blur the background. This not only creates three dimension in the image, it also helps the subject stand out and be identified as the most important thing in the photo.

Here’s an example I saw about Hudson River painters that showcases this technique. When you look at this painting, you know that the mountains in the background are far away because they are a little hazy and out of focus. But, the trees and hills in the foreground are super sharp, so our brain knows that they are closer. Our eyes “see” jut like this all day every day – “blurring” out whatever is in the background of what you are looking at – but only when you are faced with a camera or the desire to paint a landscape that you are really forced to think about it and re-create that illusion of depth.
We photographers use f-stops to create those really cool, blurred out backgrounds. The f/stop numbers start at f/1.4 and go up in some magical mathematical equation up until f/32. We photographers have to pre-visualize the image before we take it and made a decision about how blurred out we want the background to be – and then we set the camera for that f/stop.

This photo demonstrates how you can manipulate the background blurriness by picking different f/stops. The top part of this image was shot at f/32 and the bottom half at f/5. The higher the f/stop number, the more in focus your background will be. As I teach in my book “The Parent’s Pocket Guide: Taking Kids and Family Portraits” a LOW number = shalLOW depth of focus. For portraits at the studio we generally use f/2.8 or f/1.4 when we are feeling artsy and want to really blur the background.
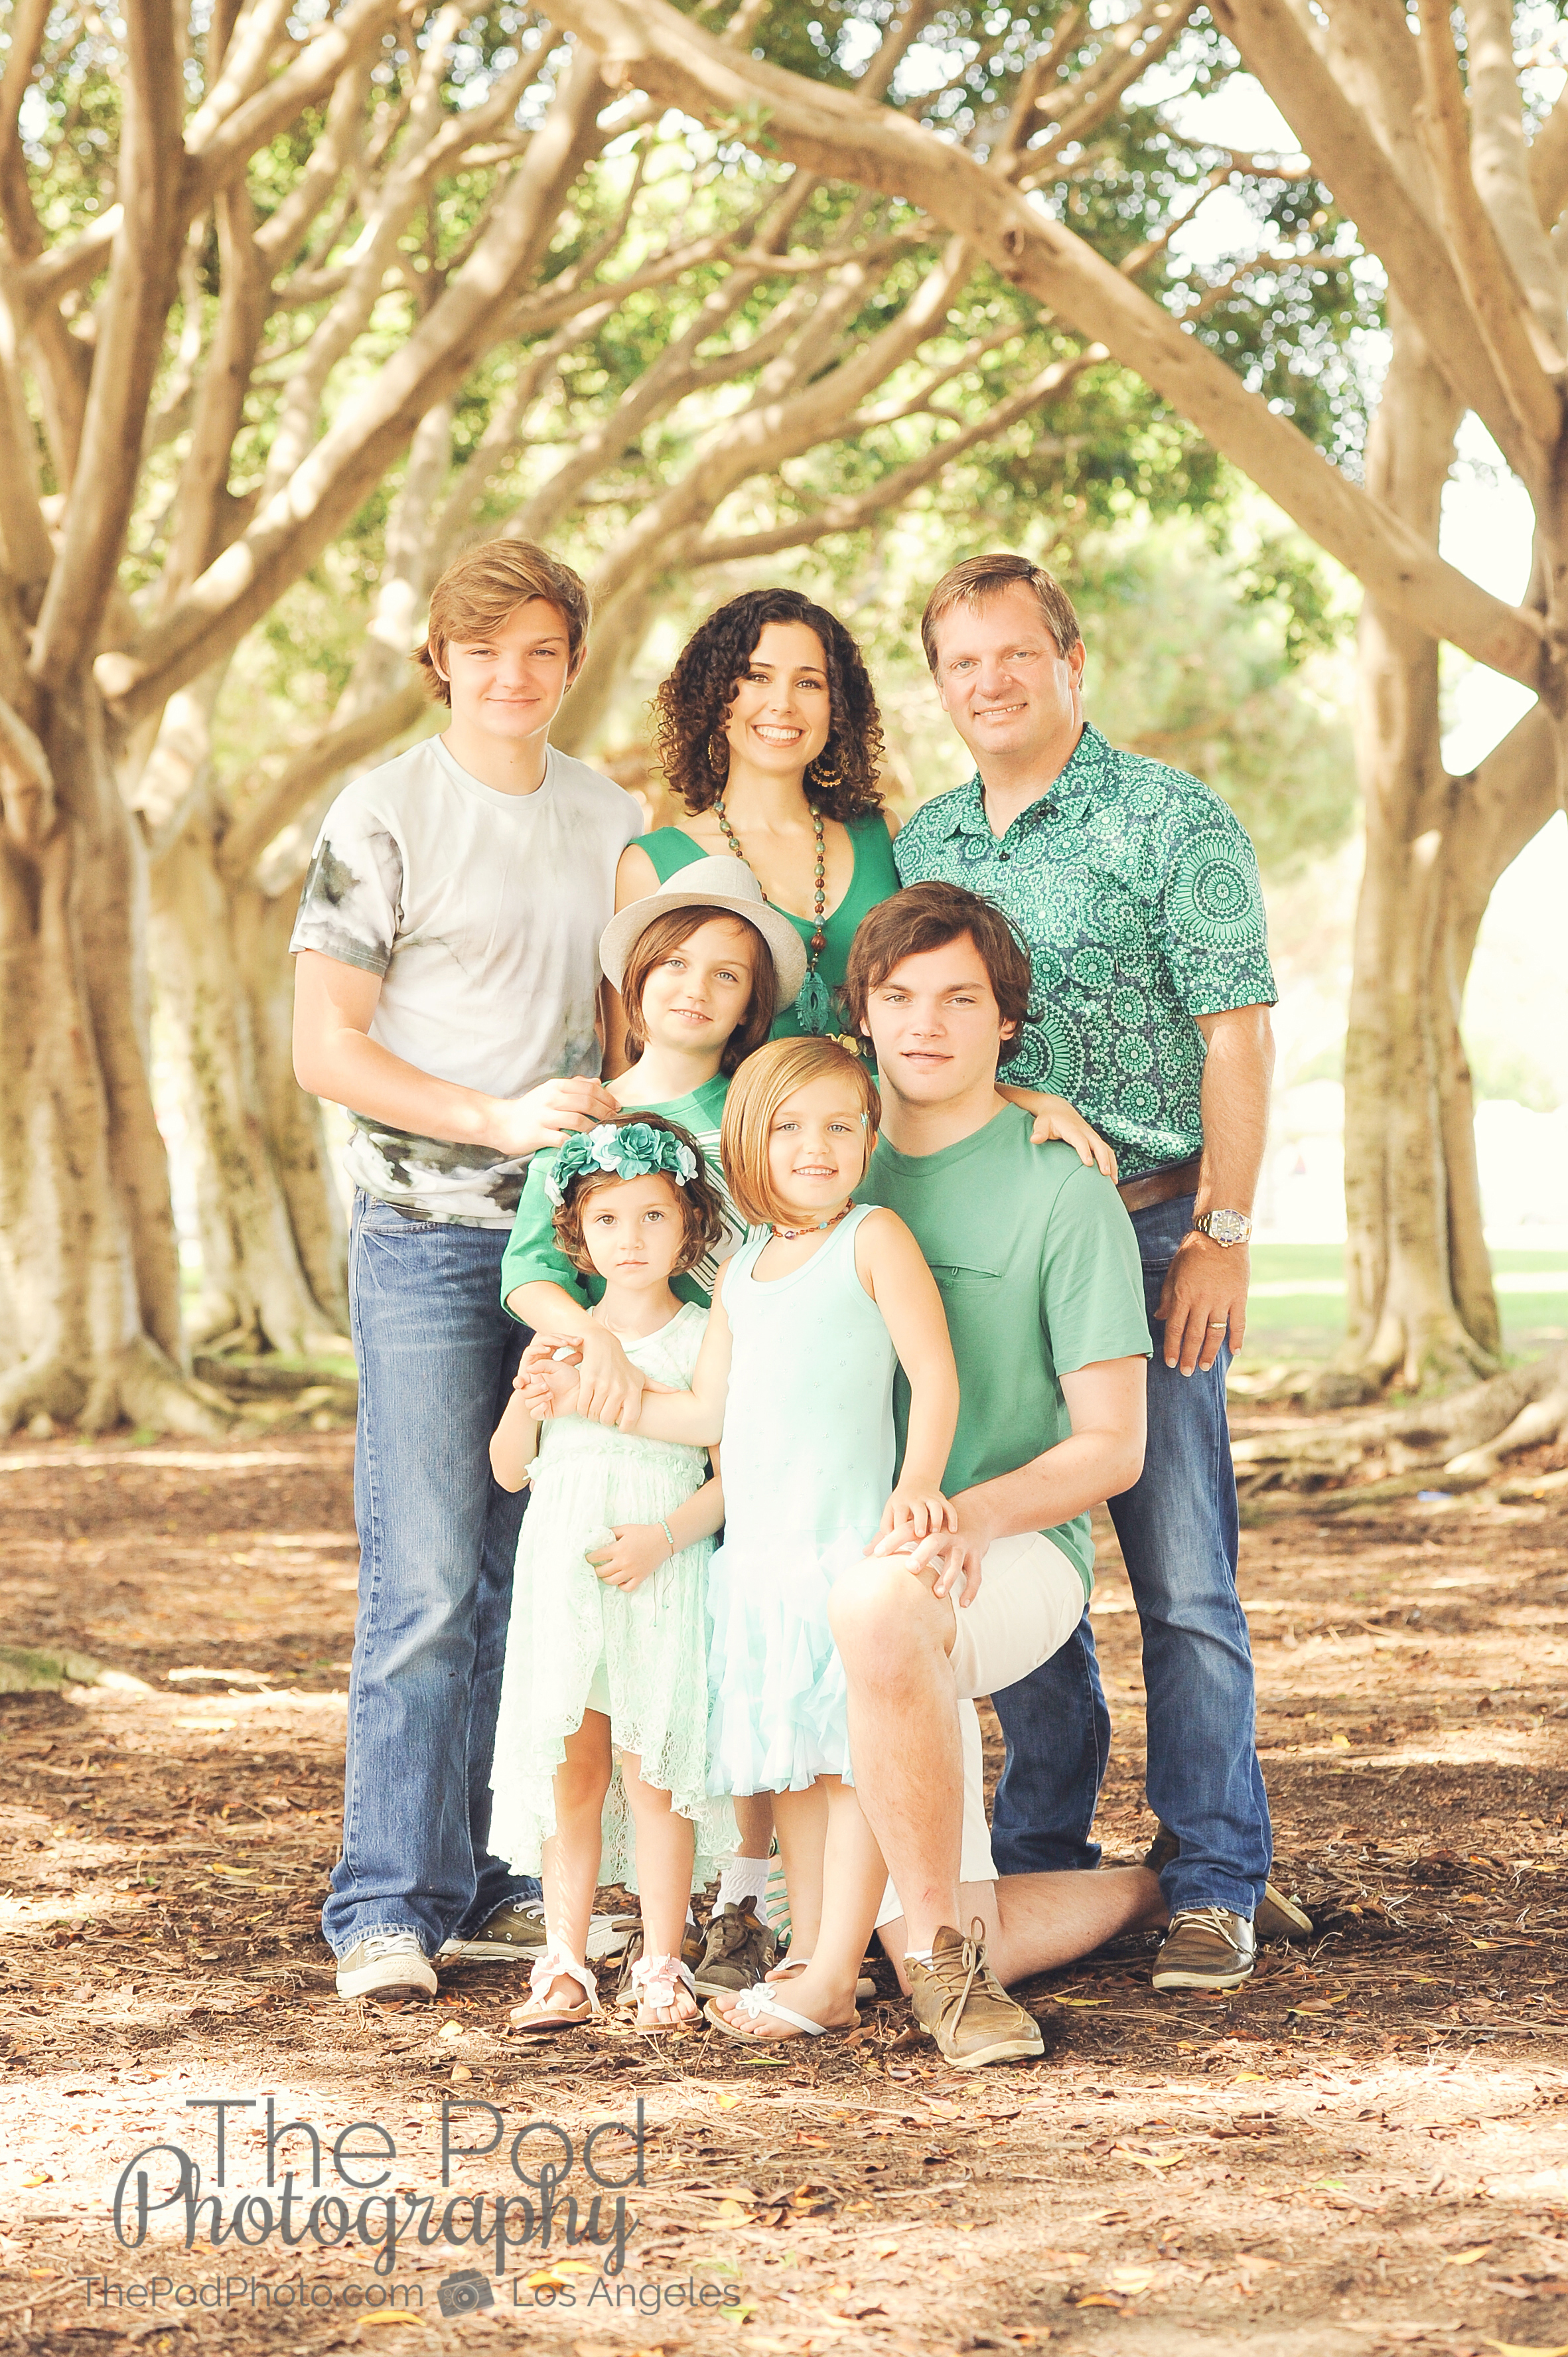
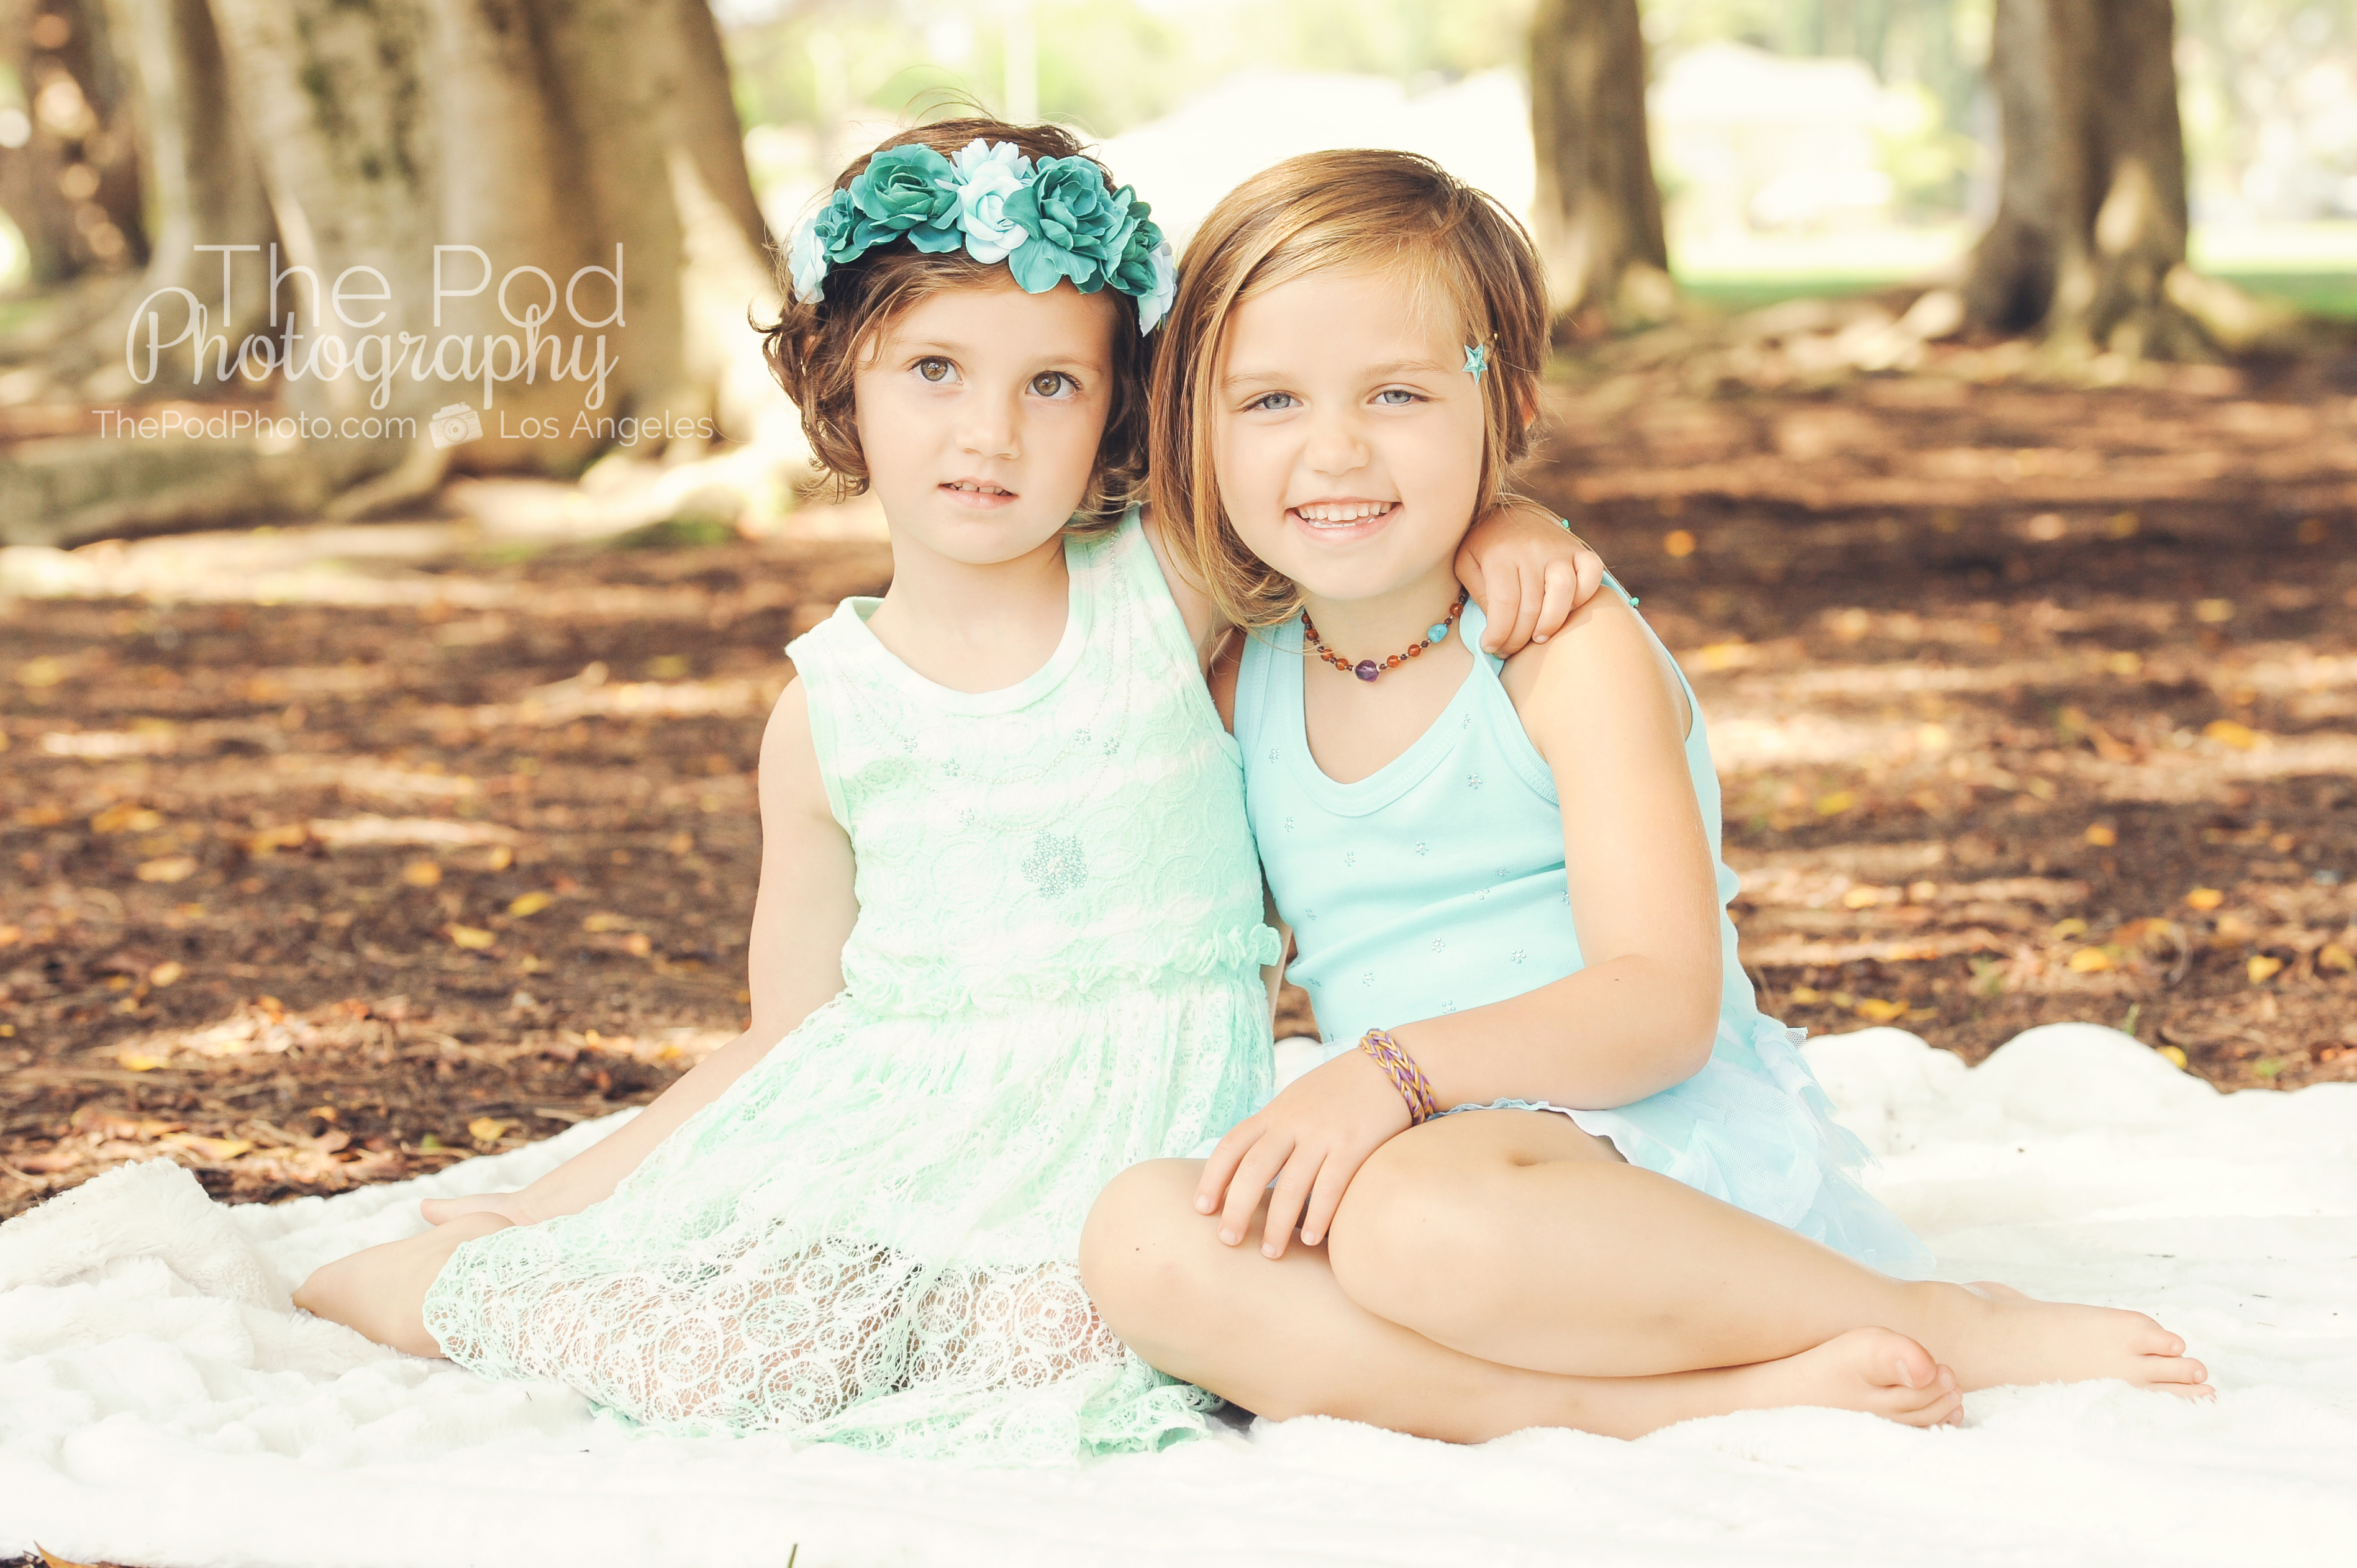
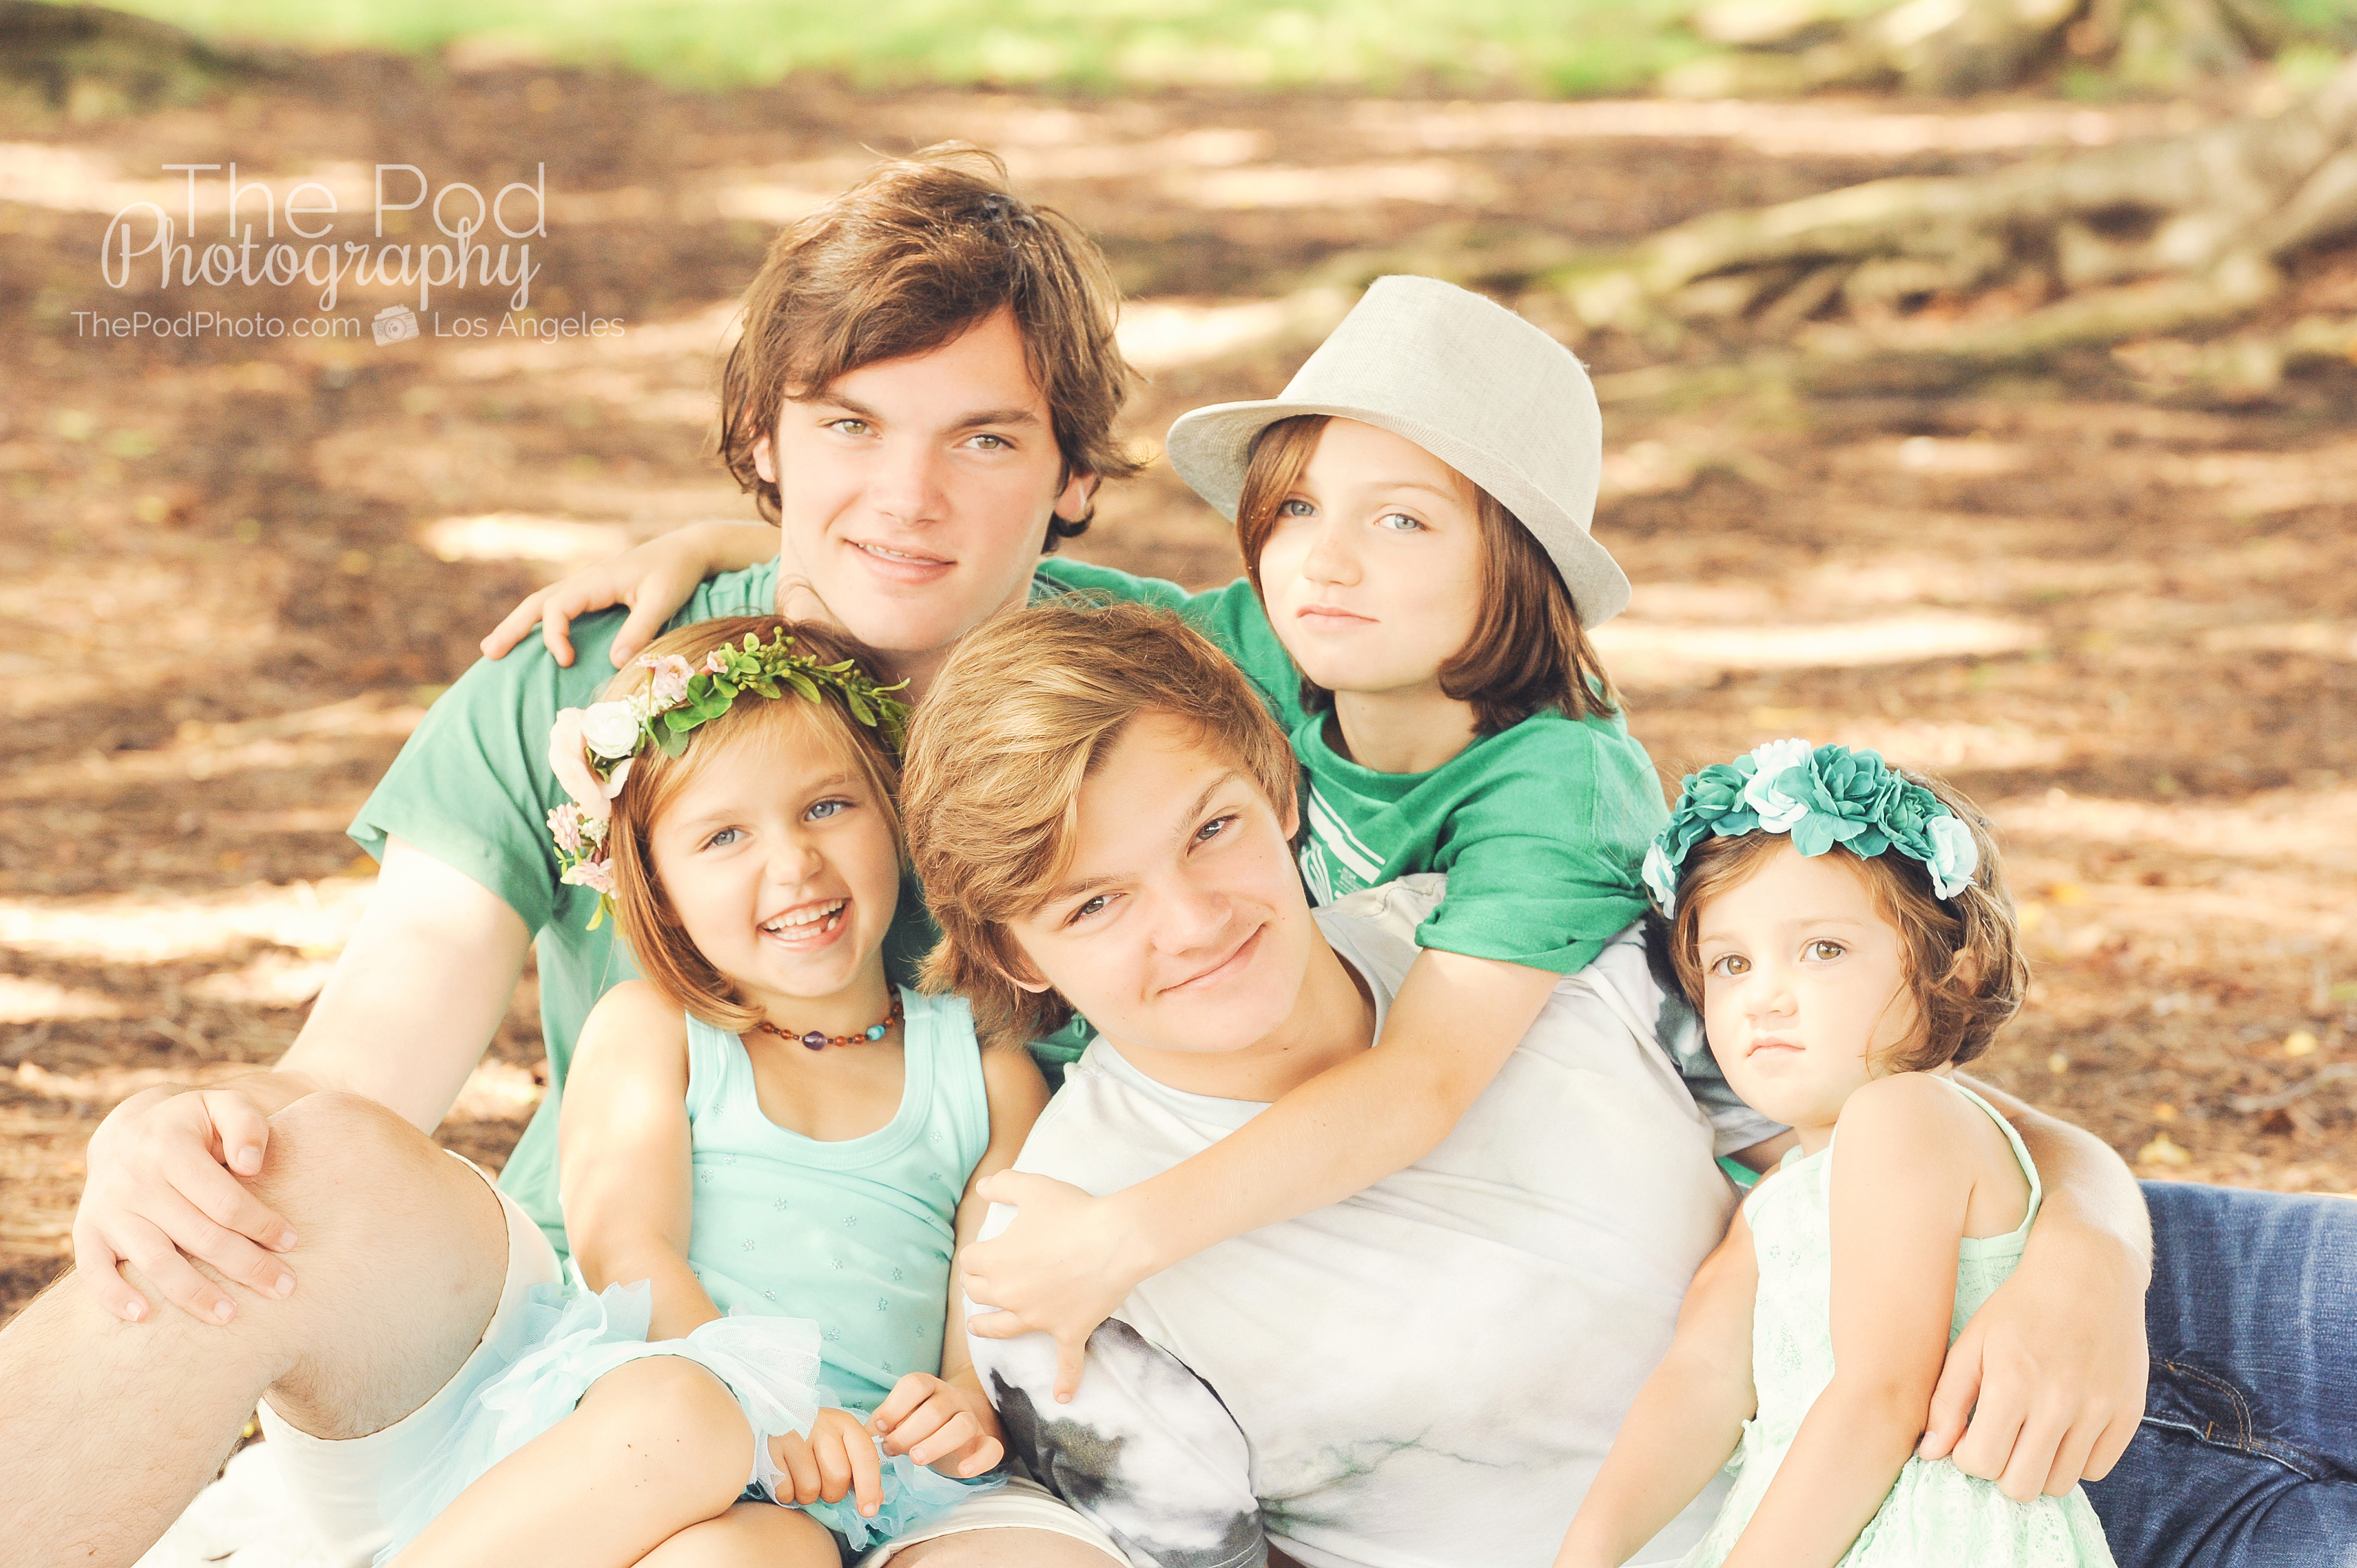
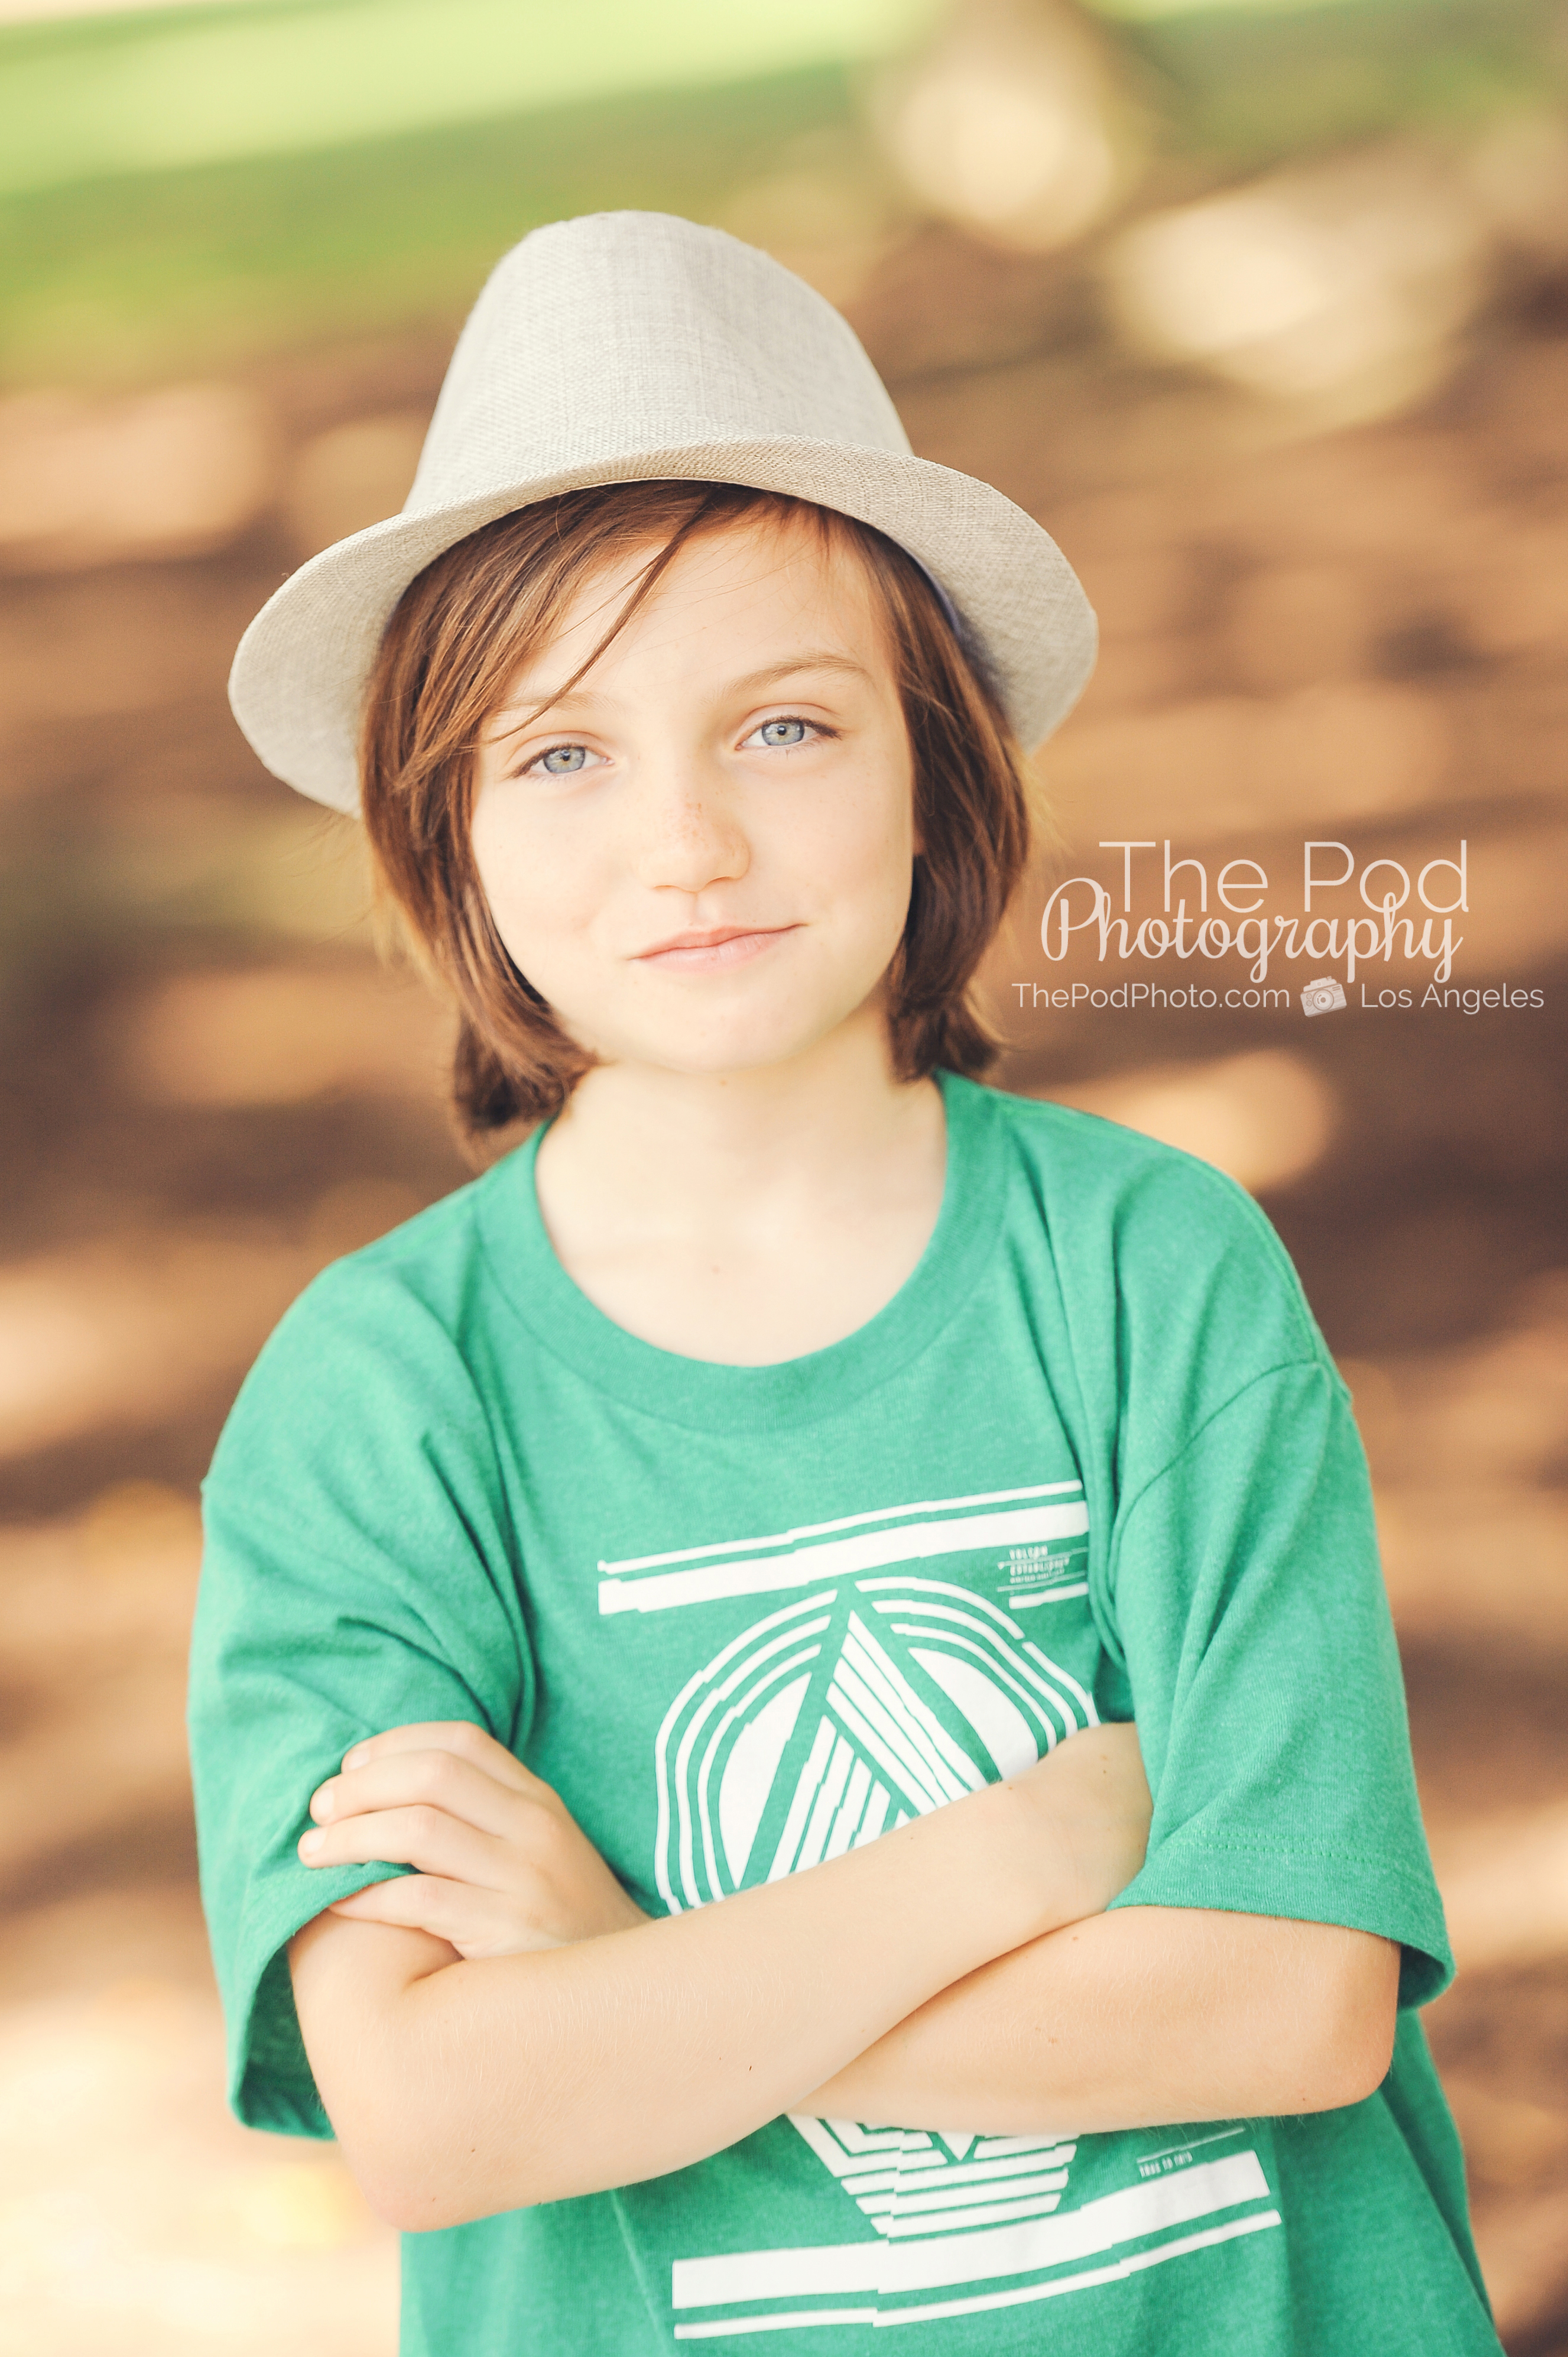
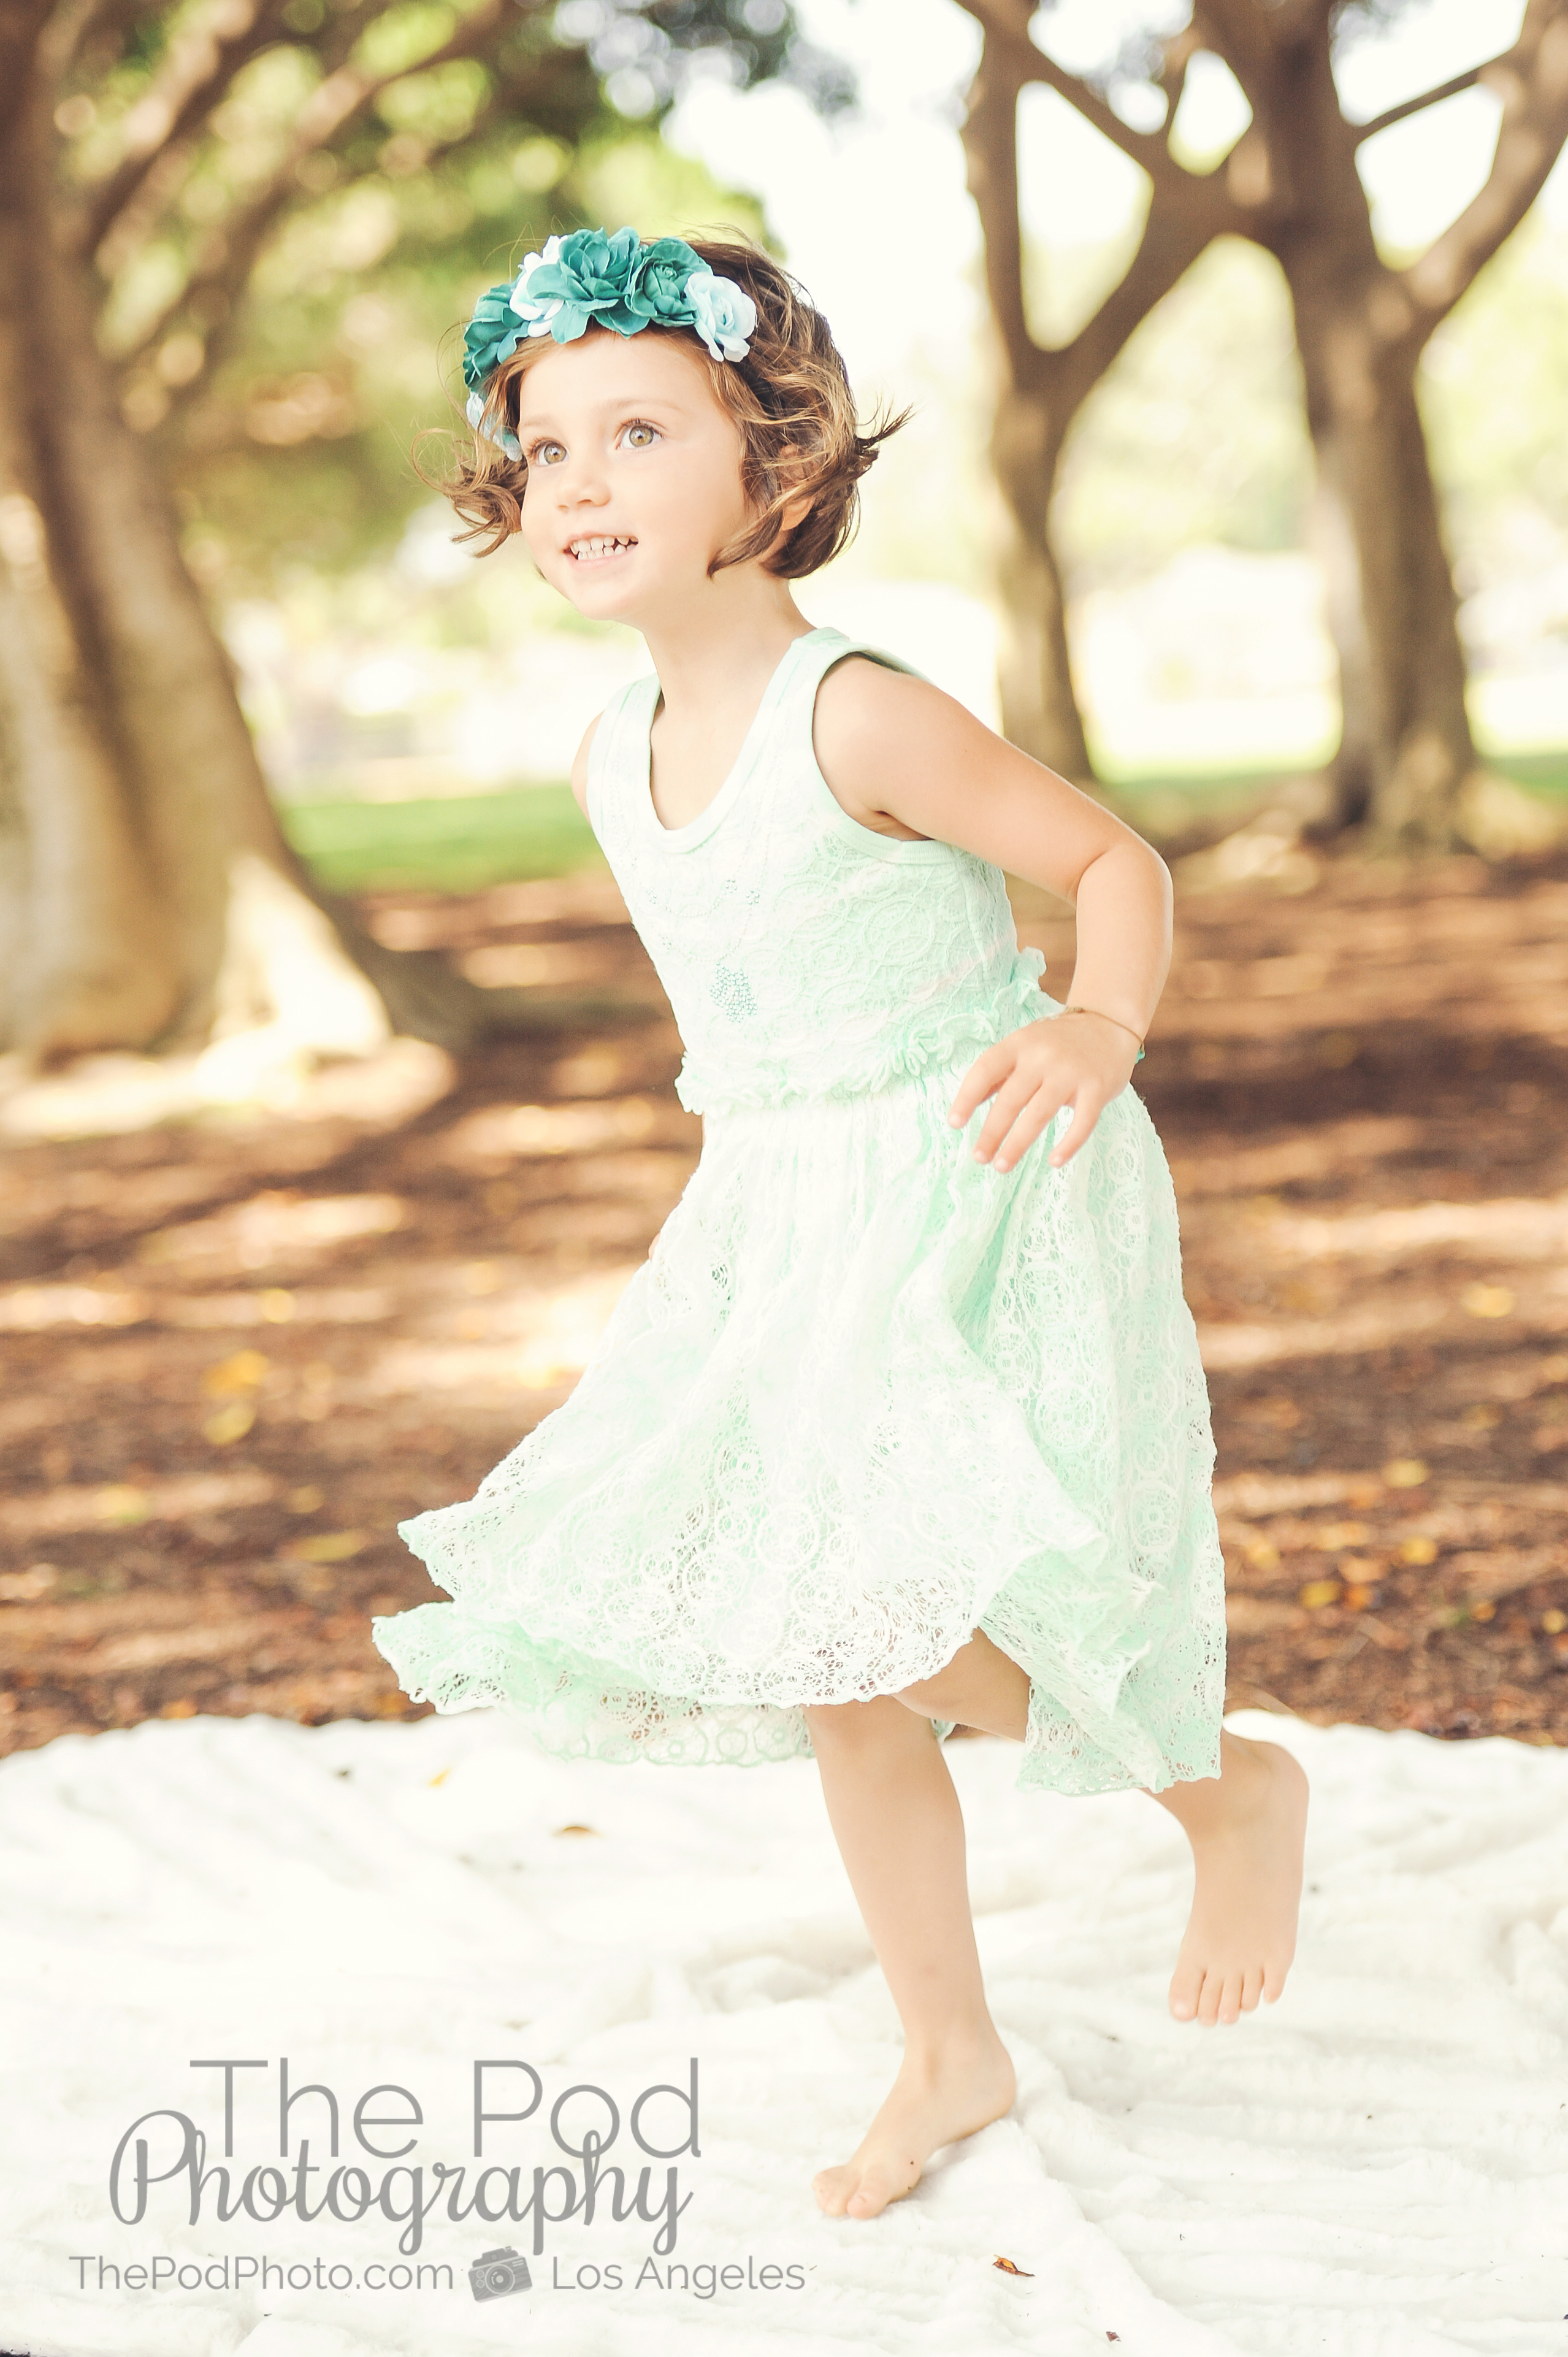
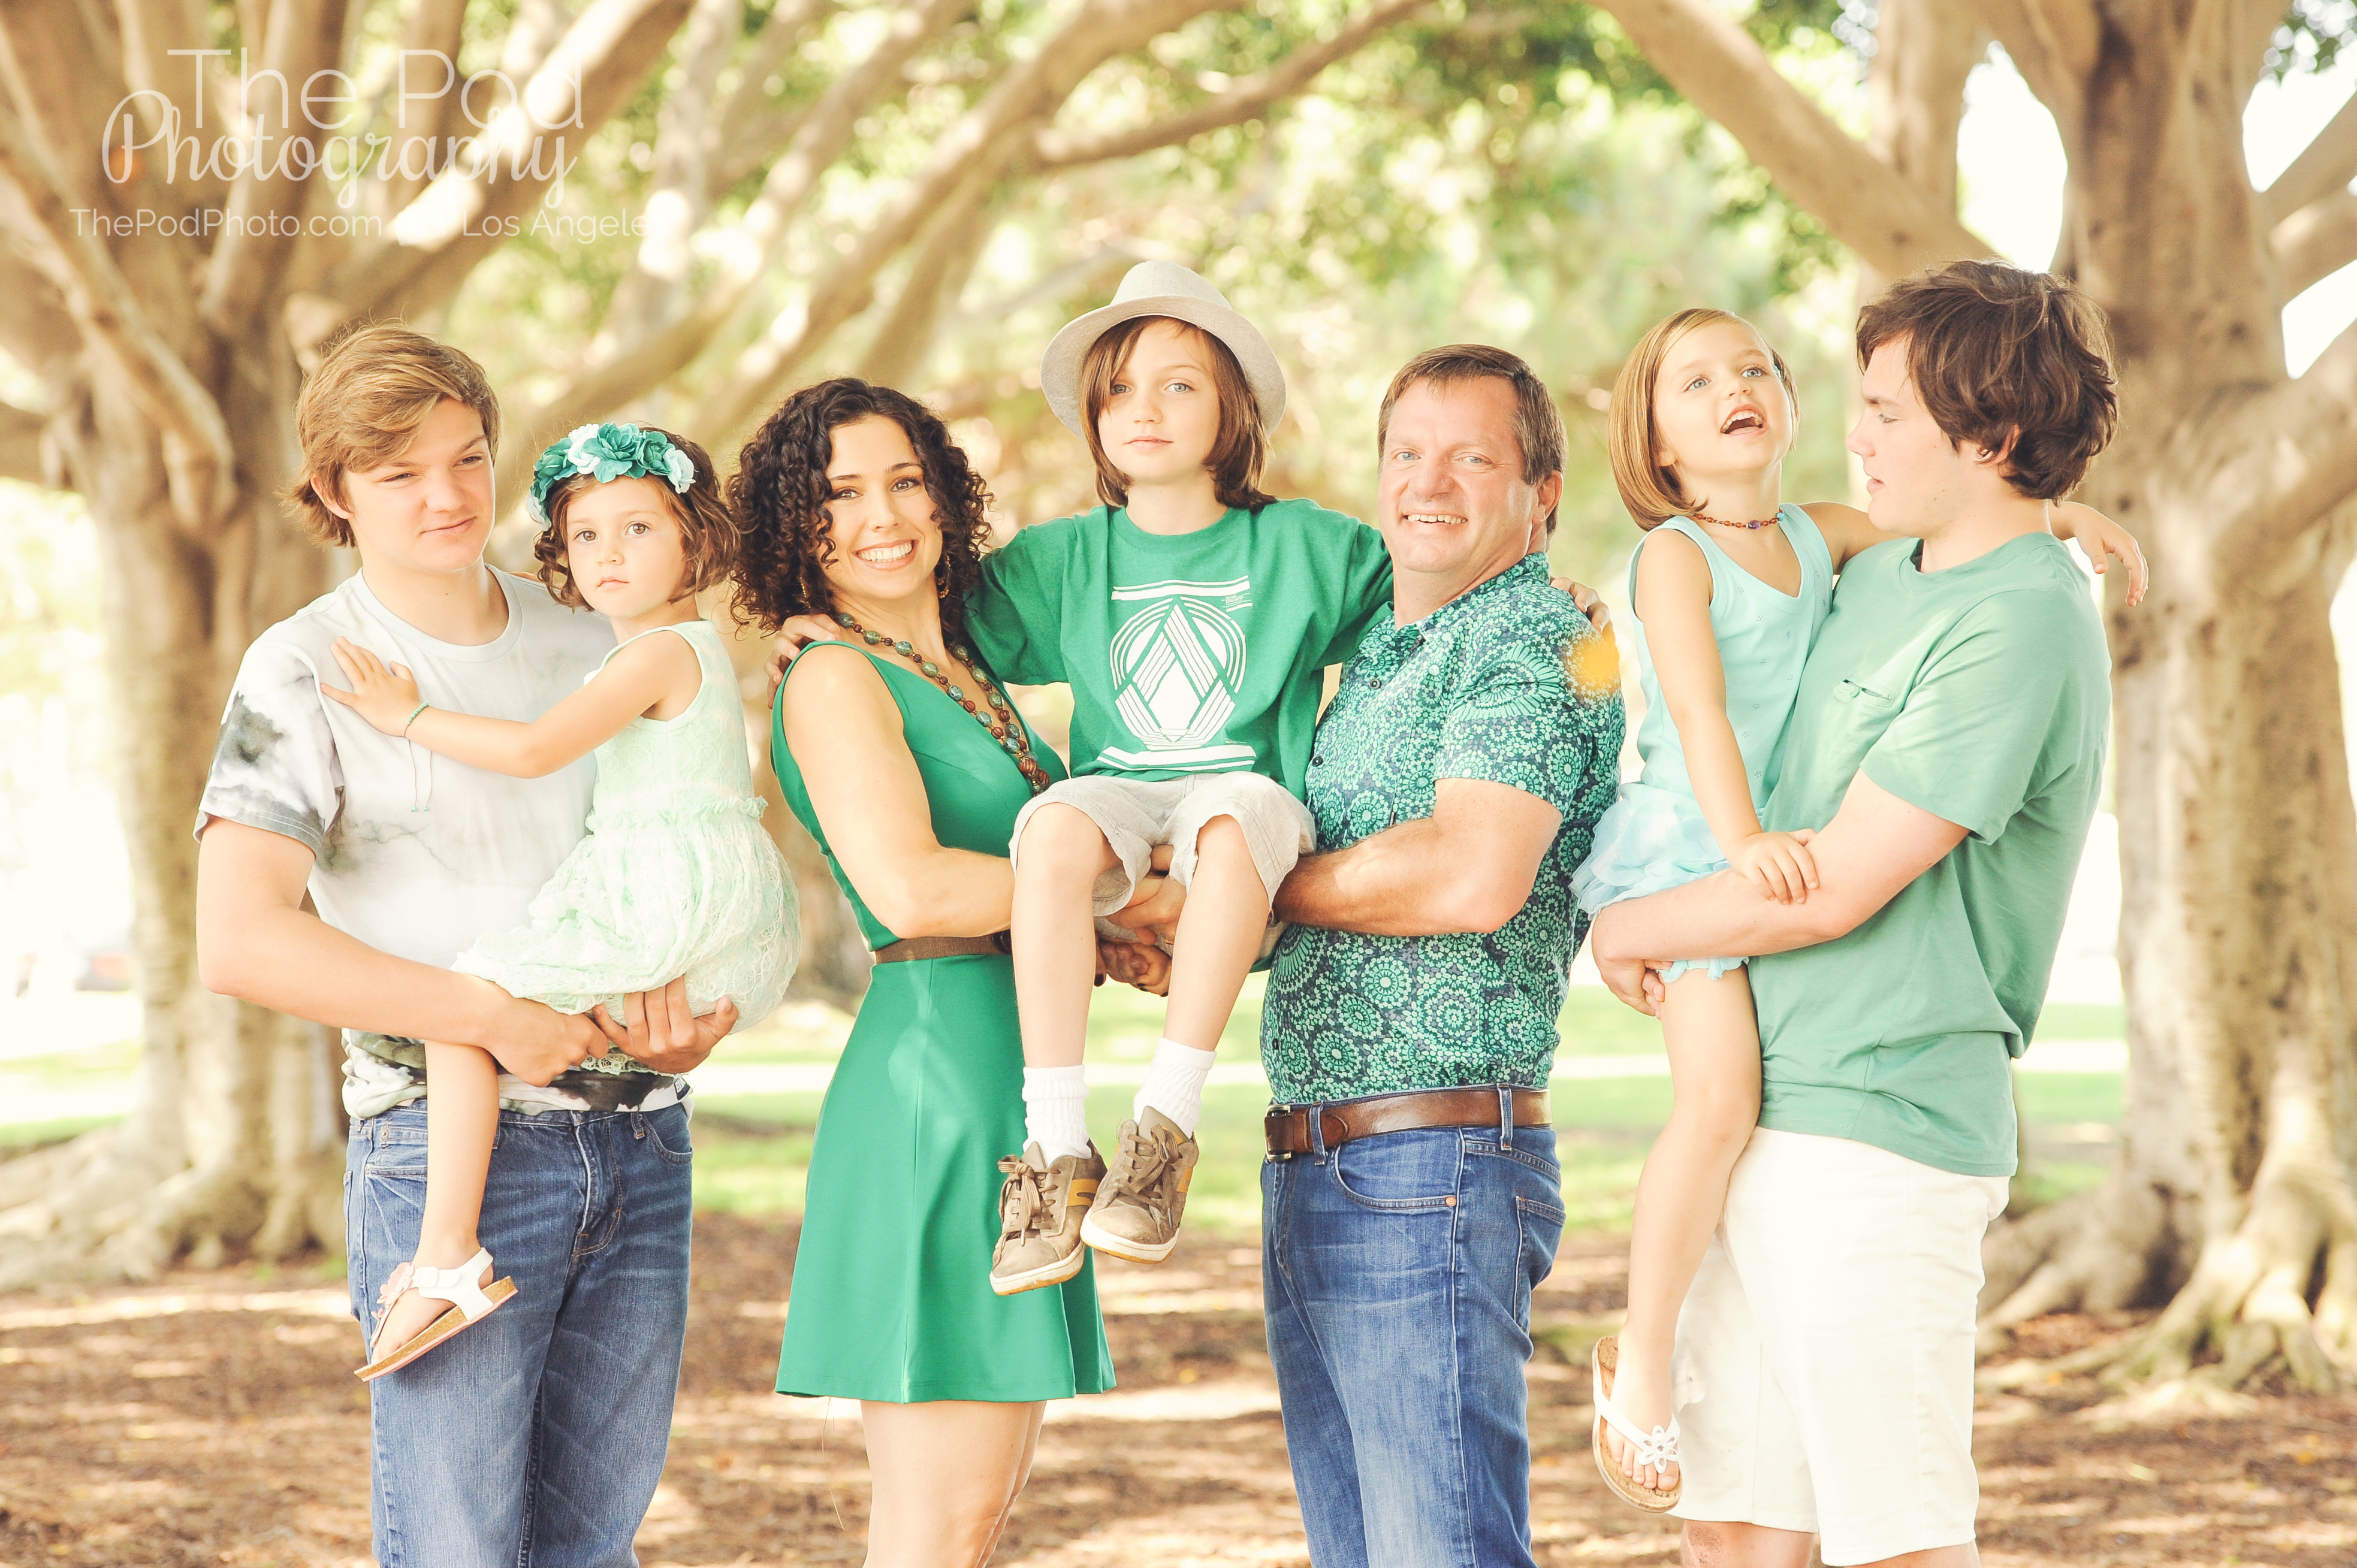
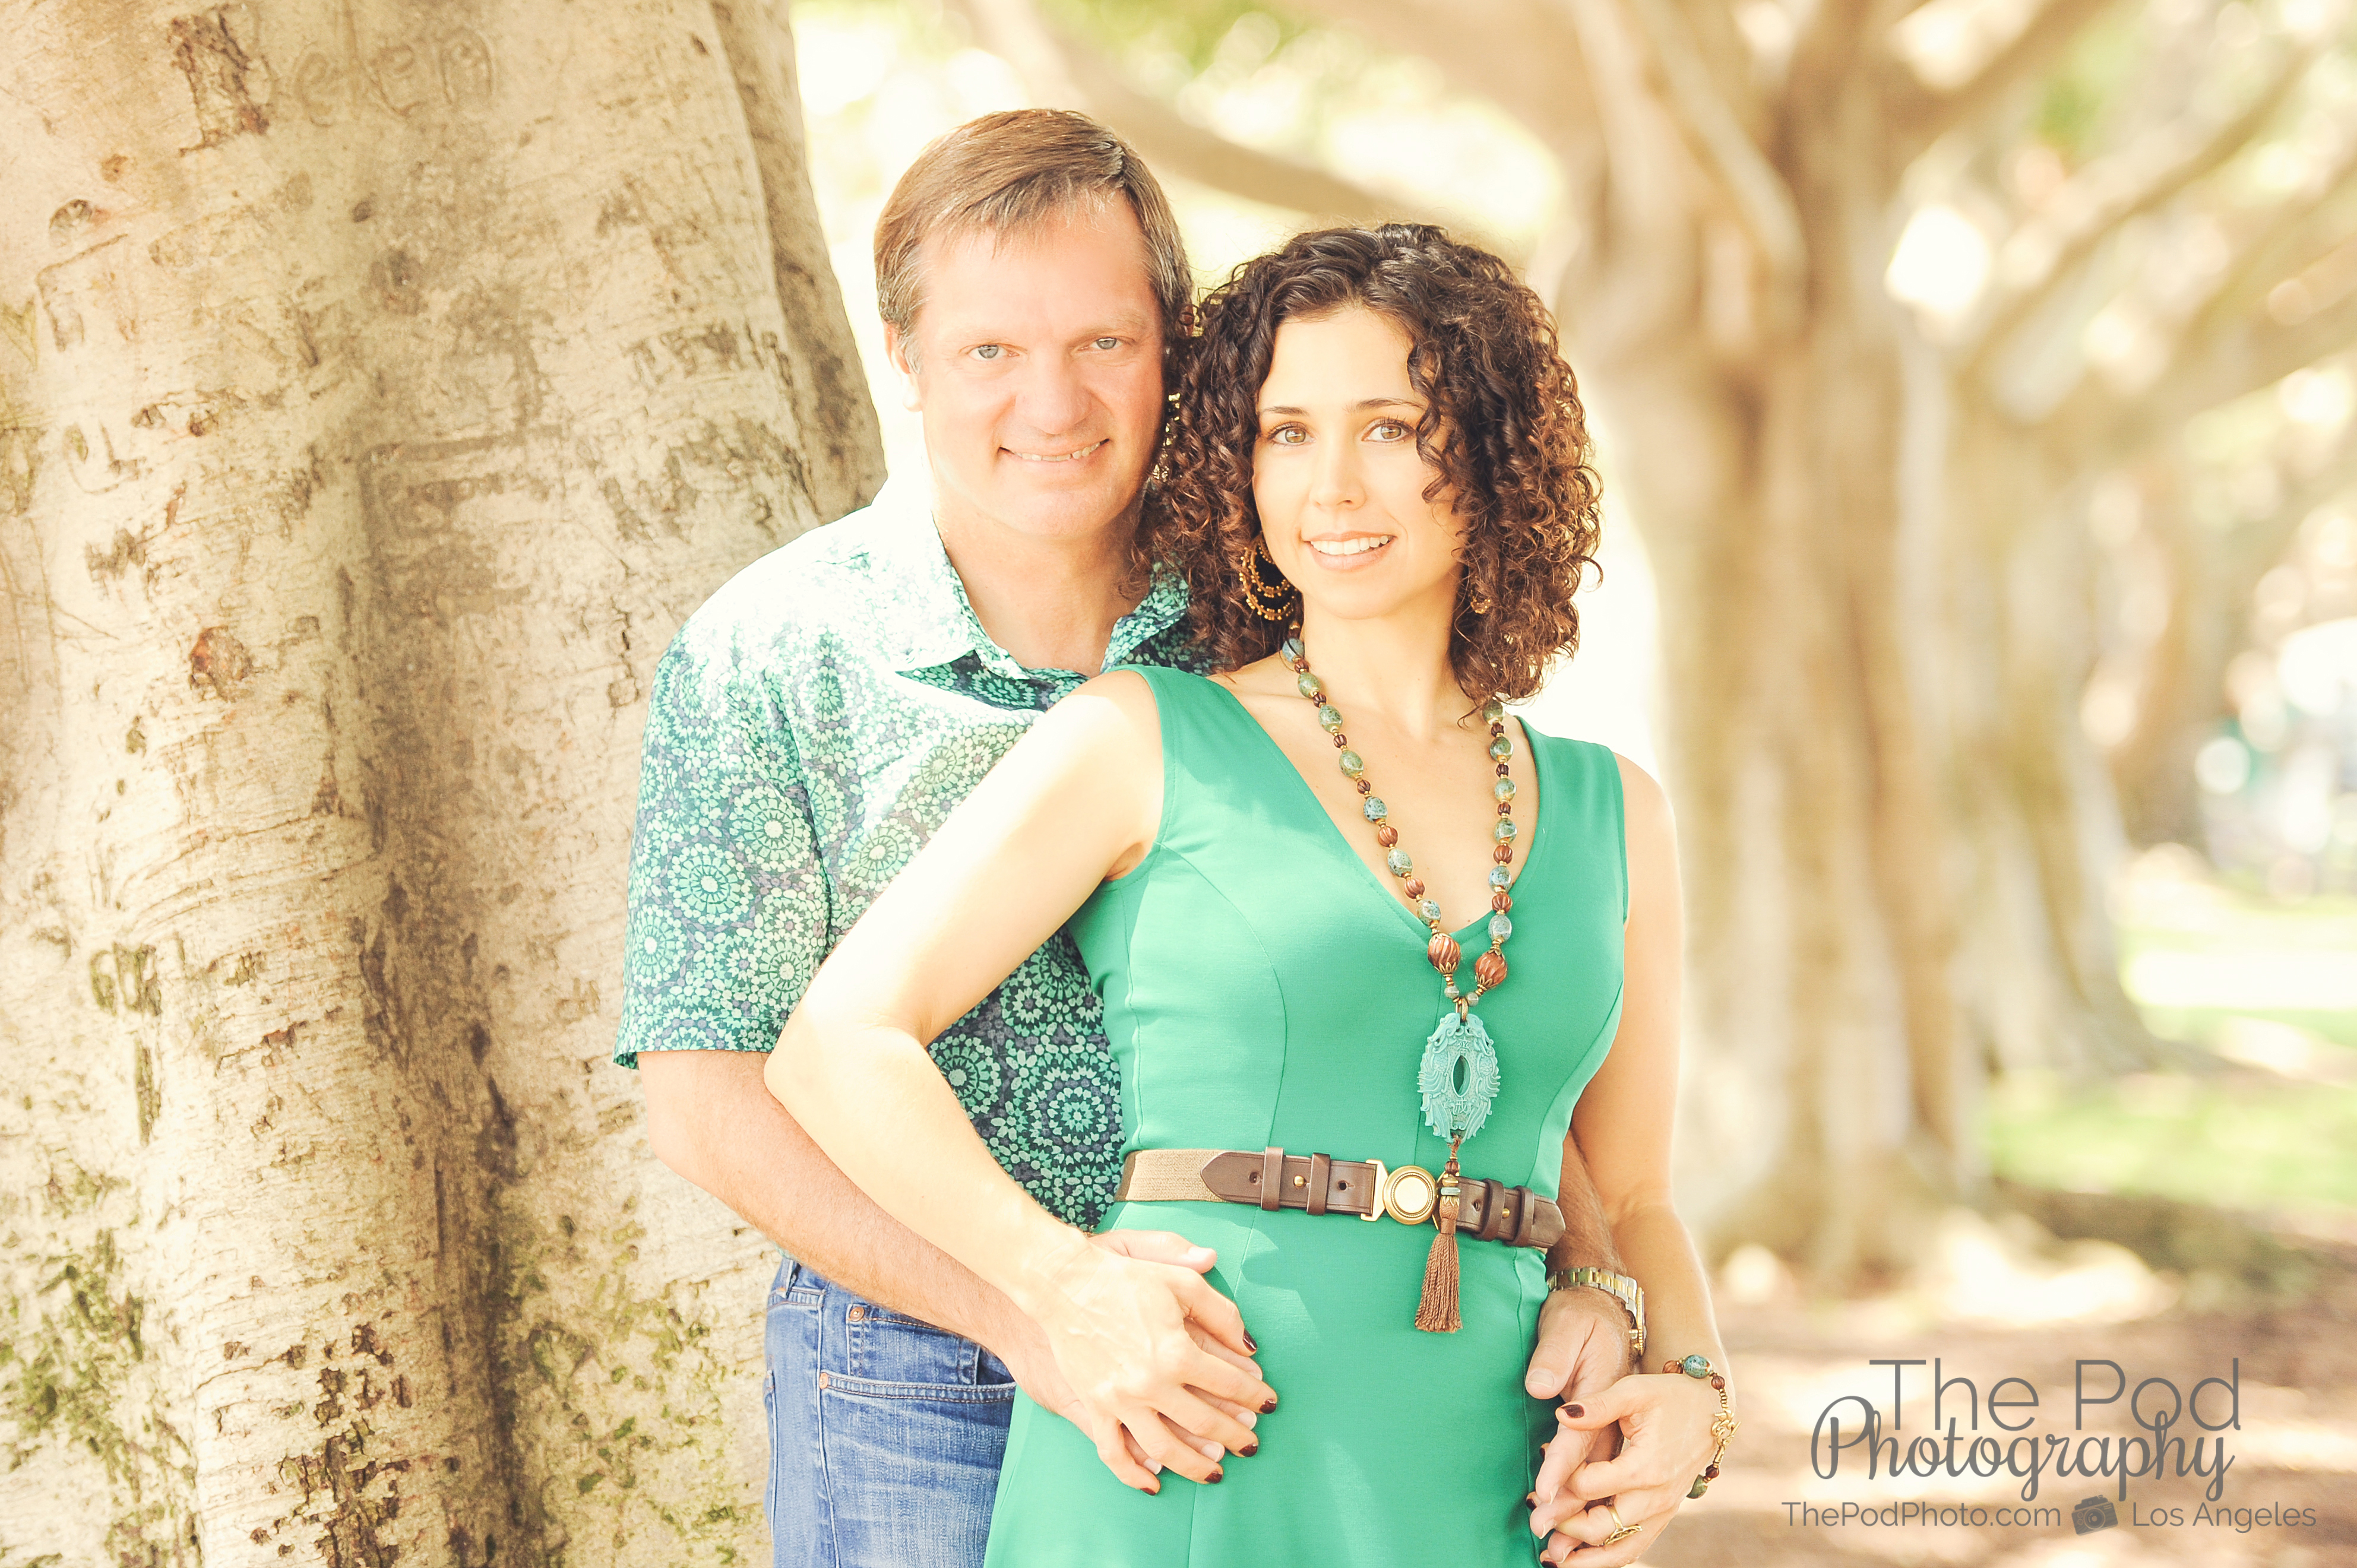
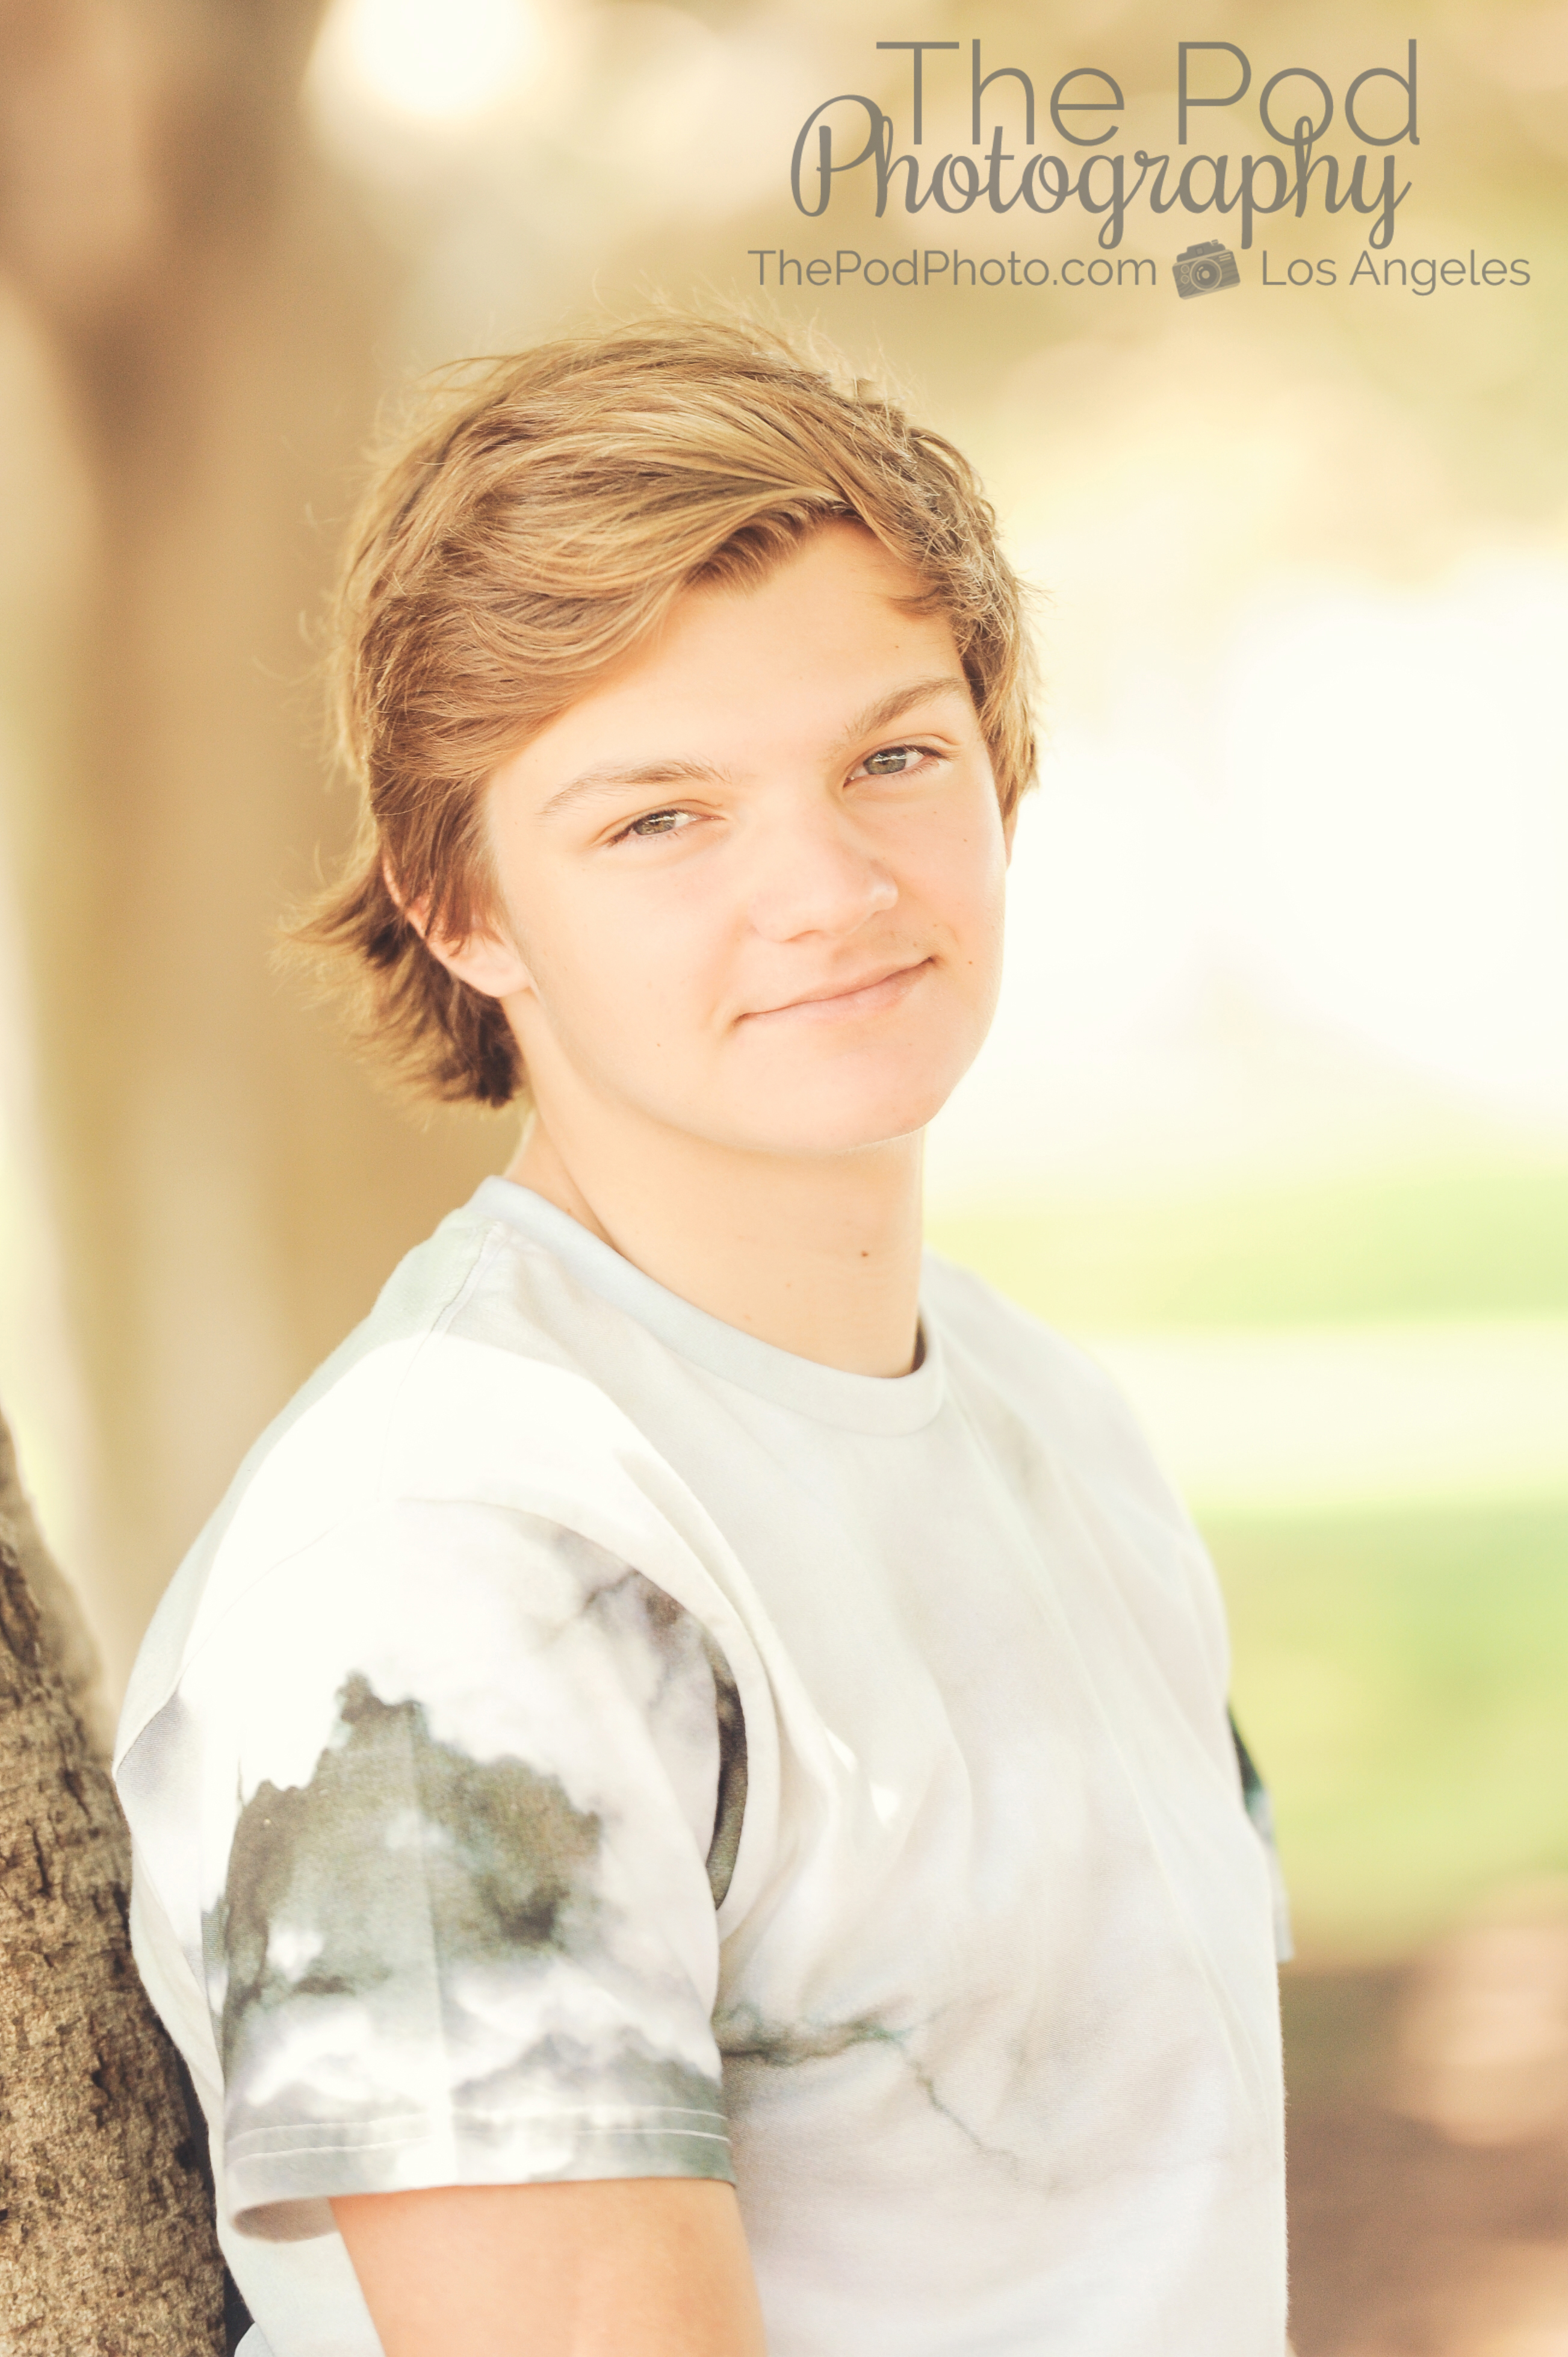
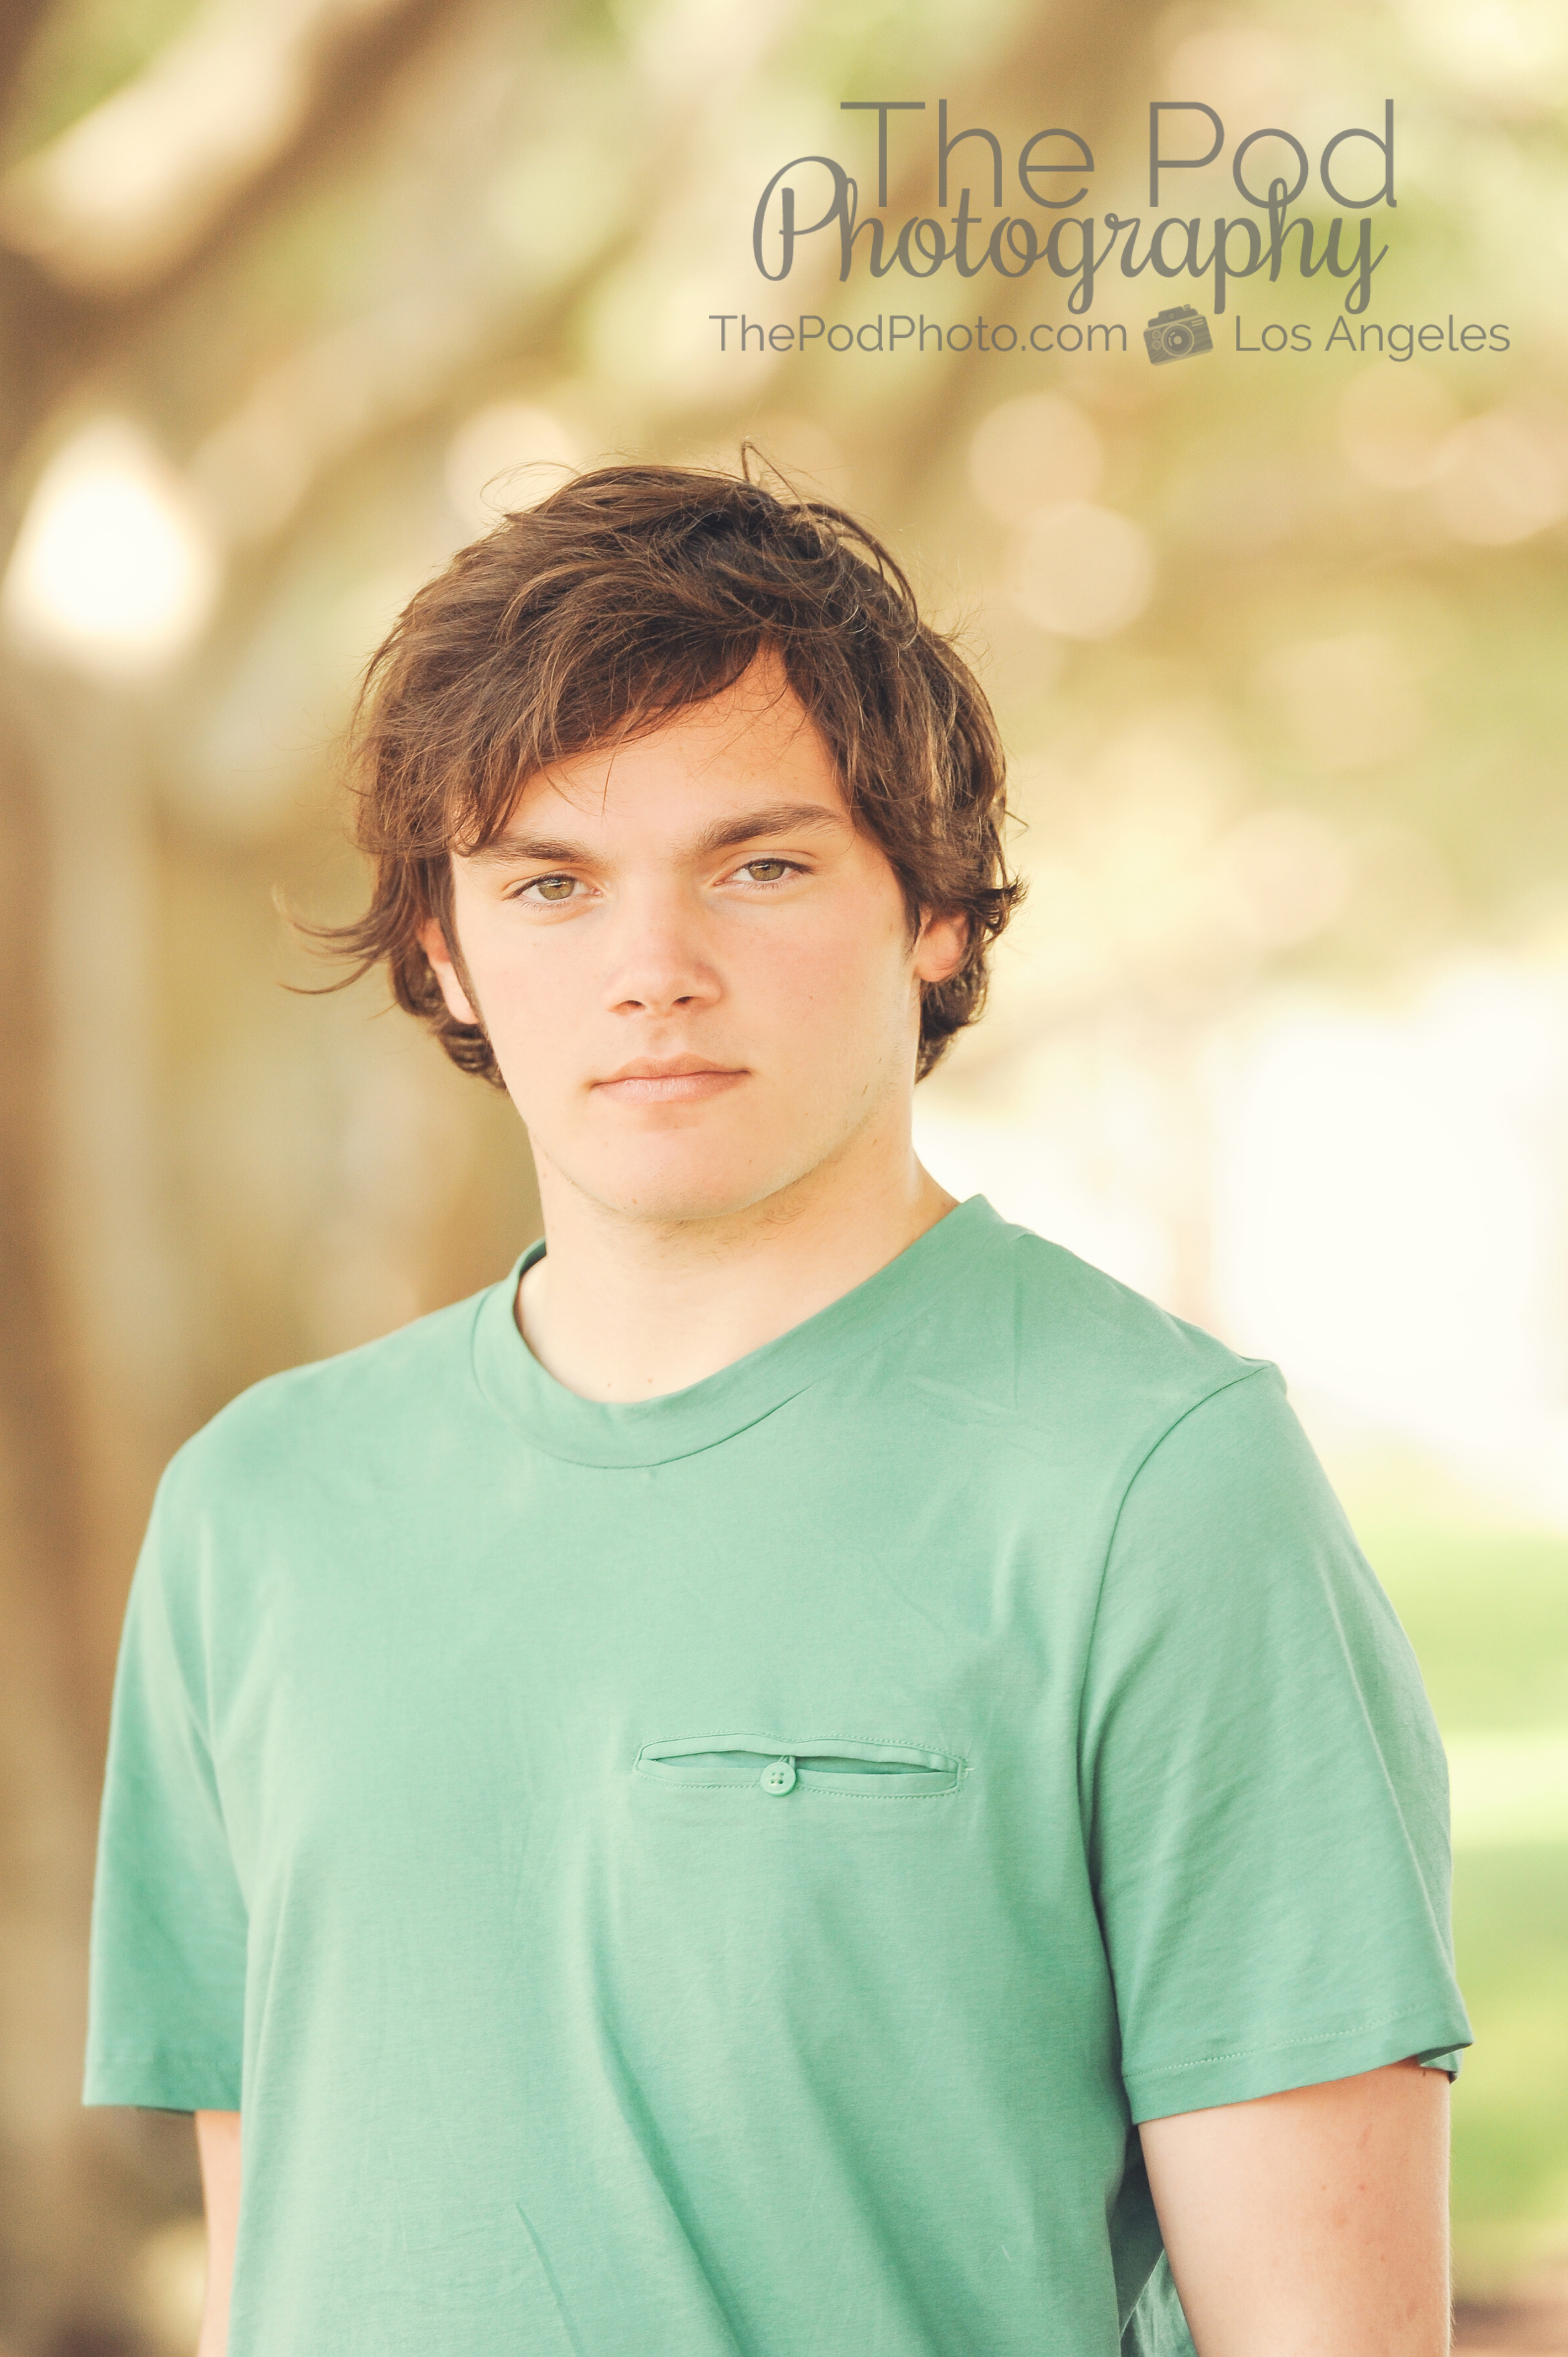
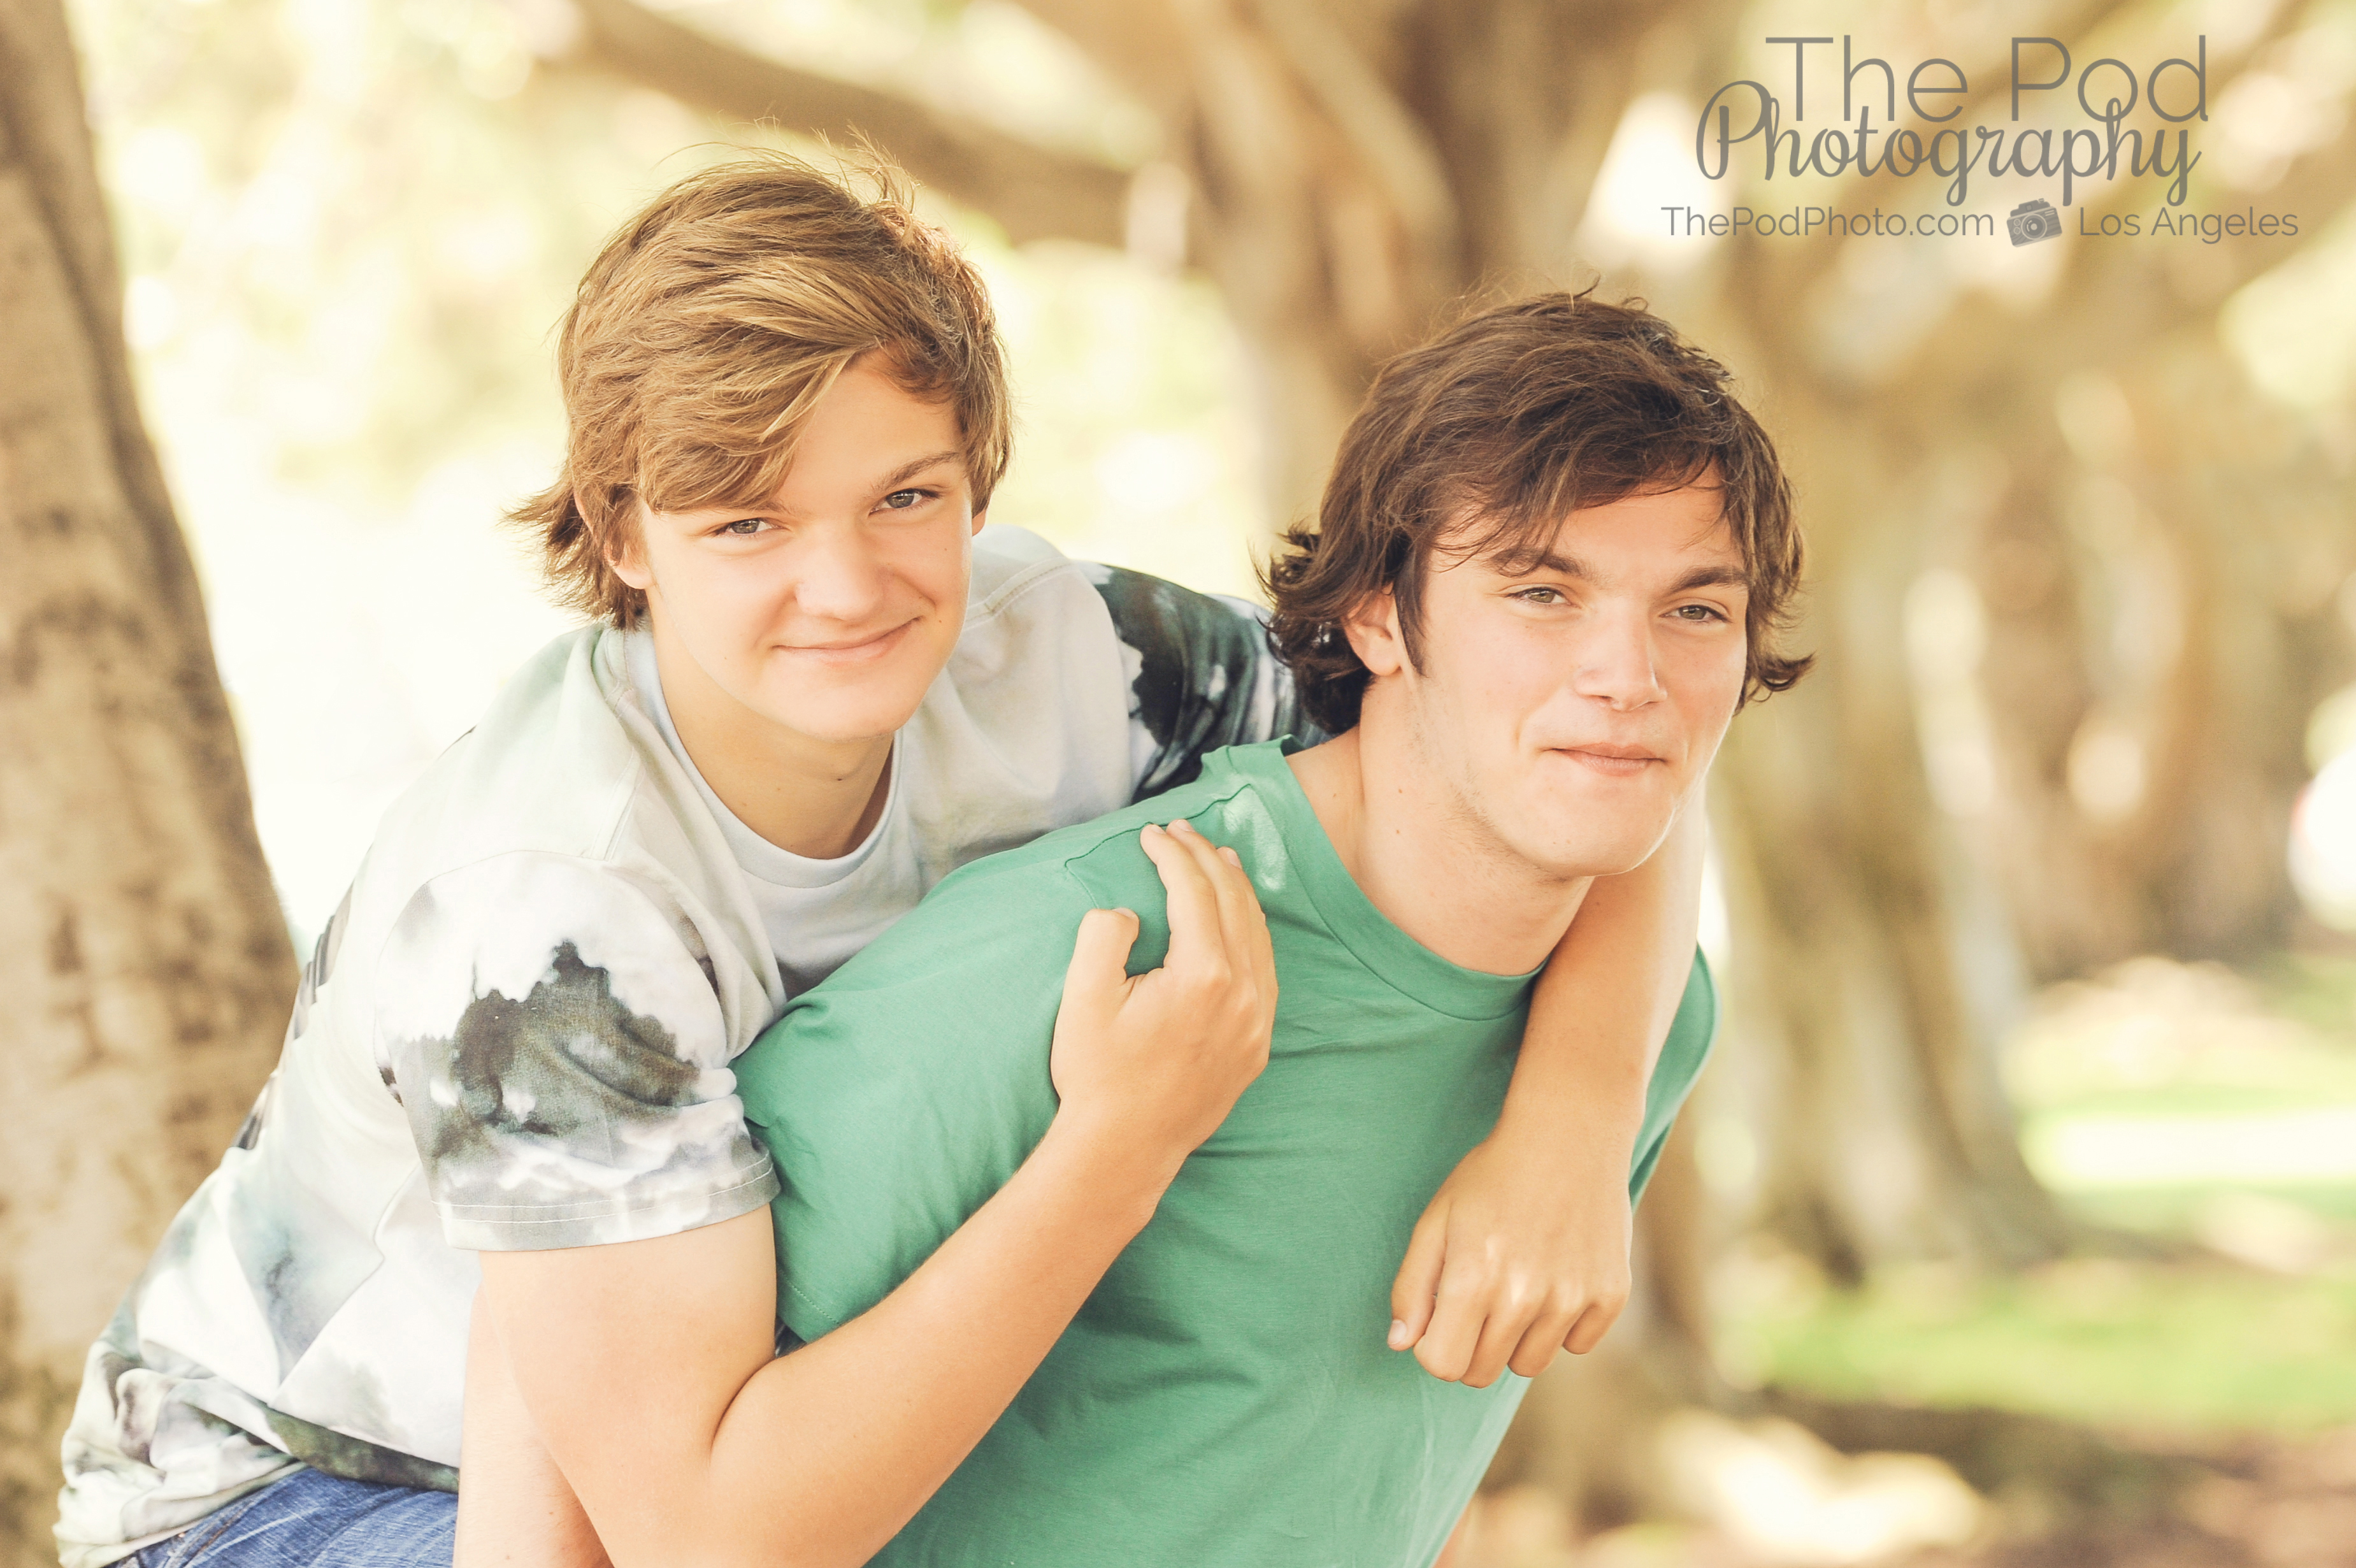
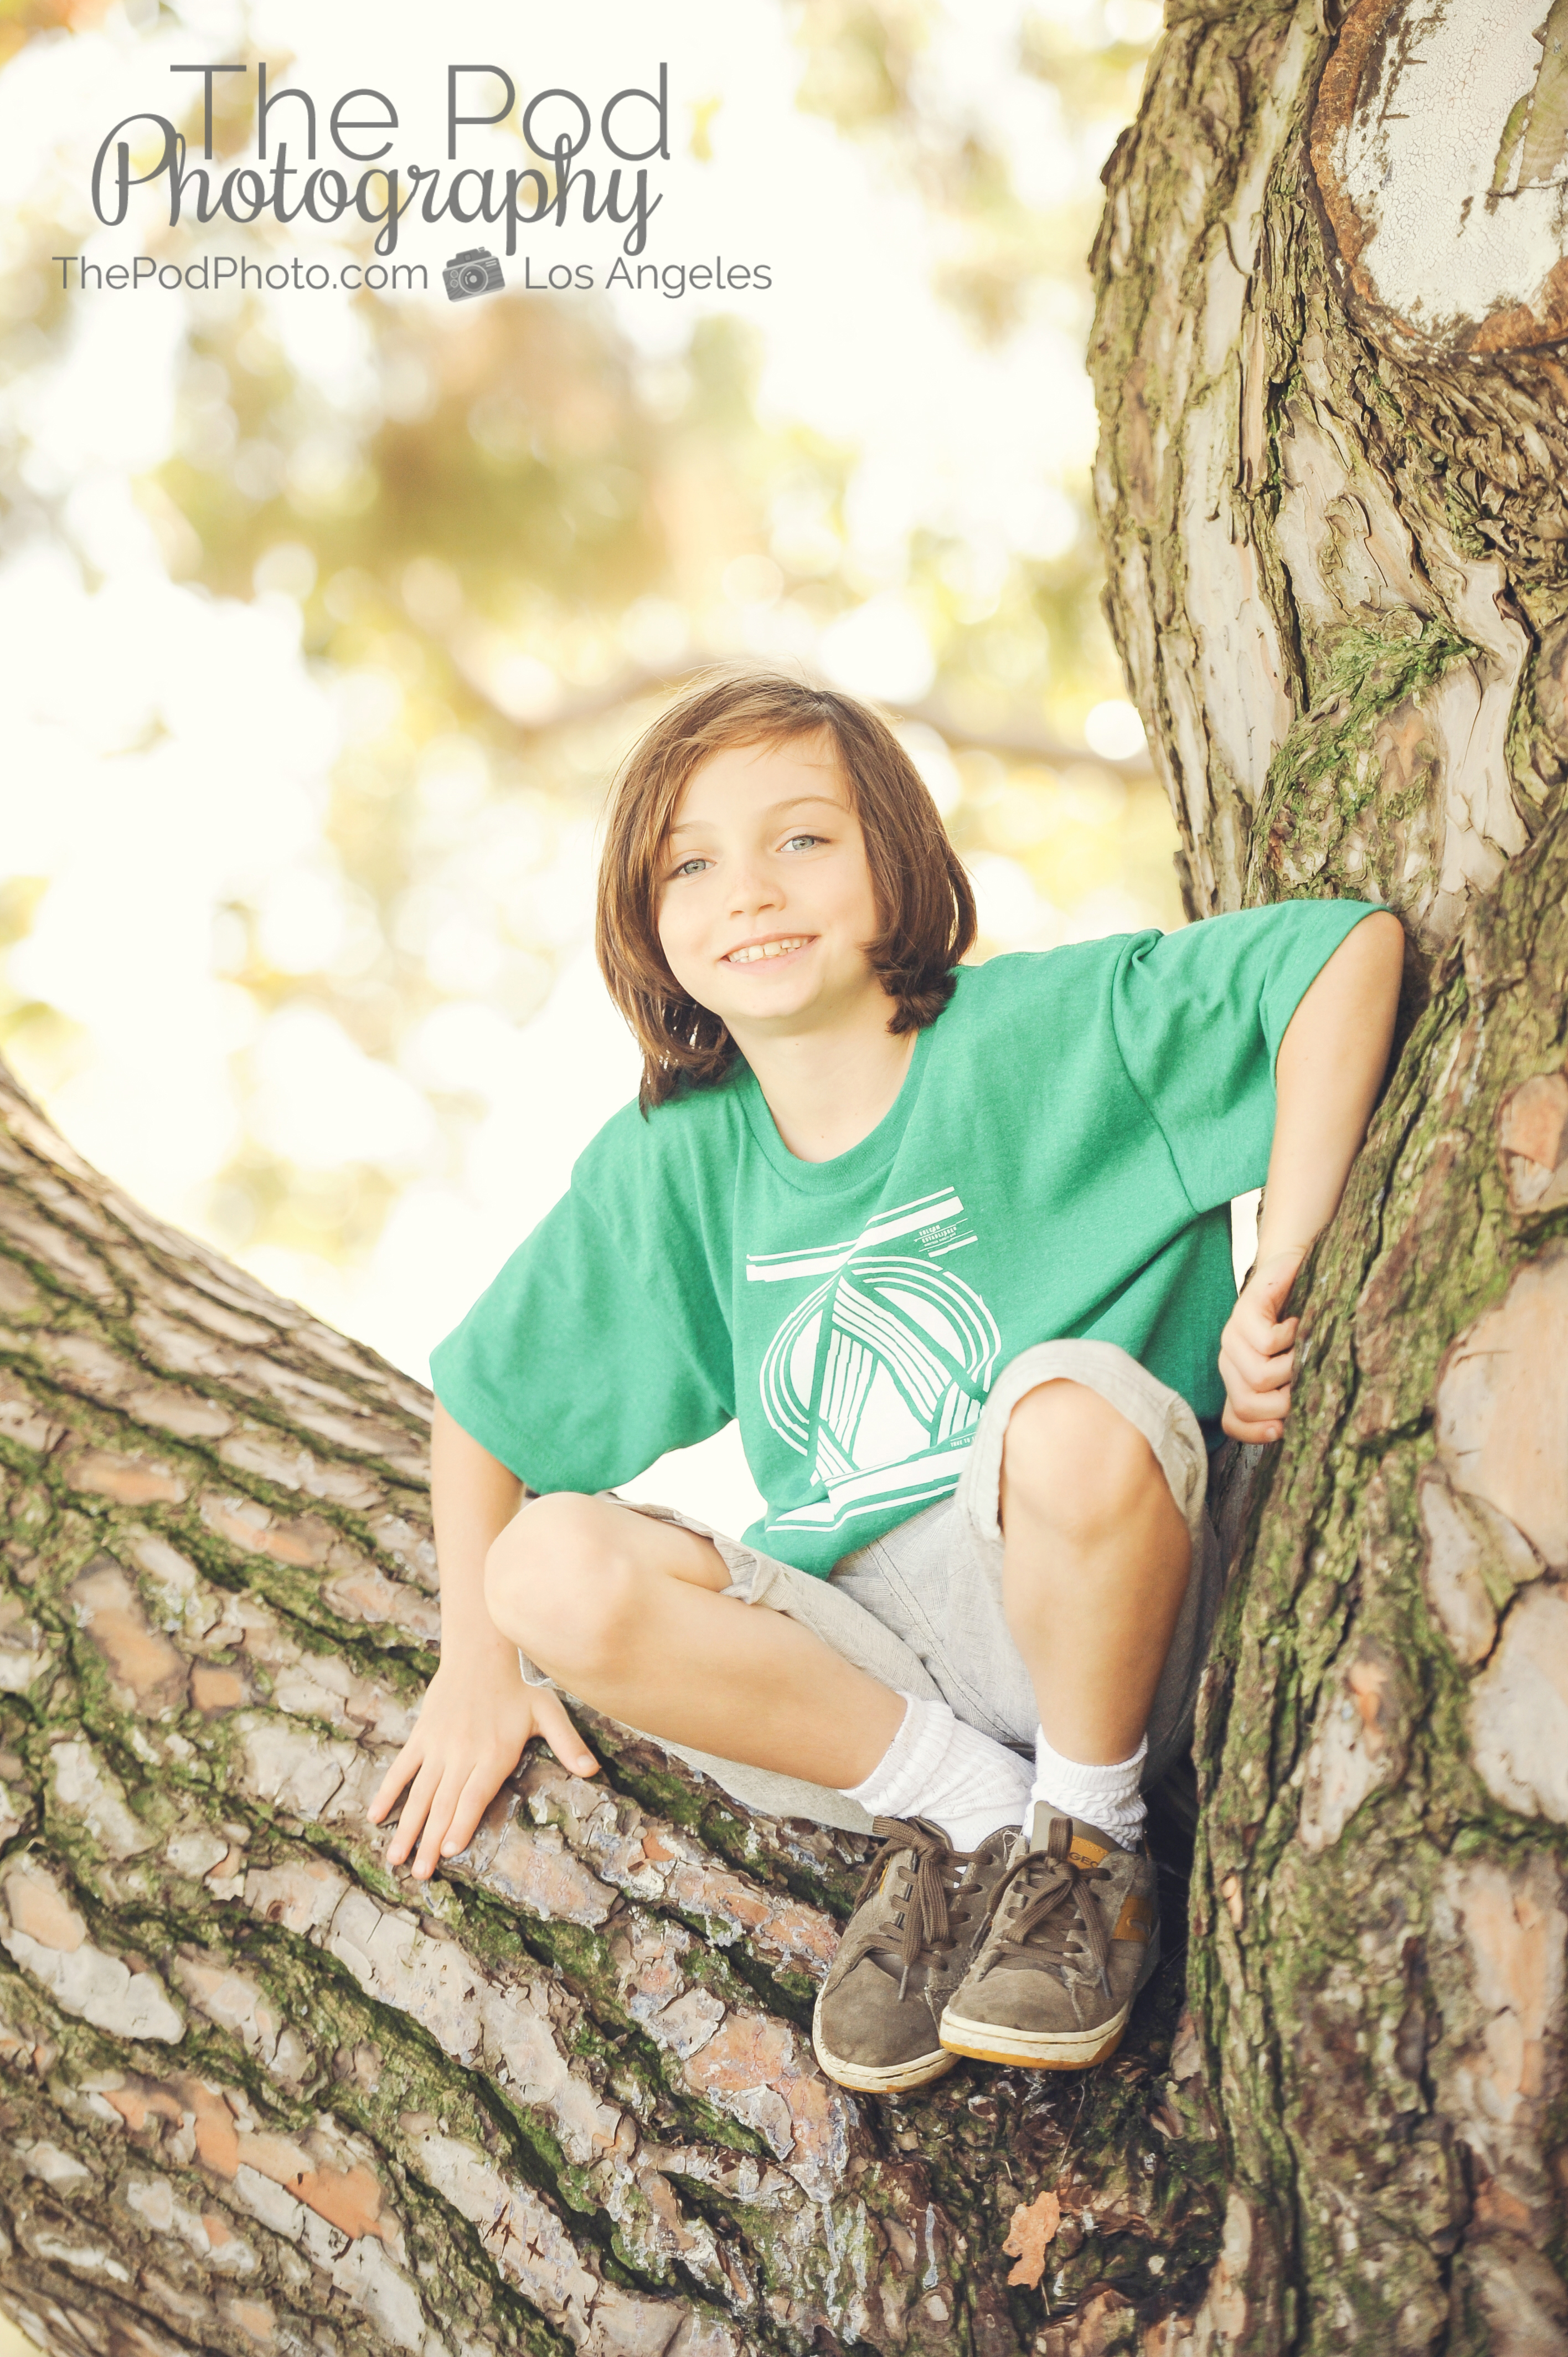
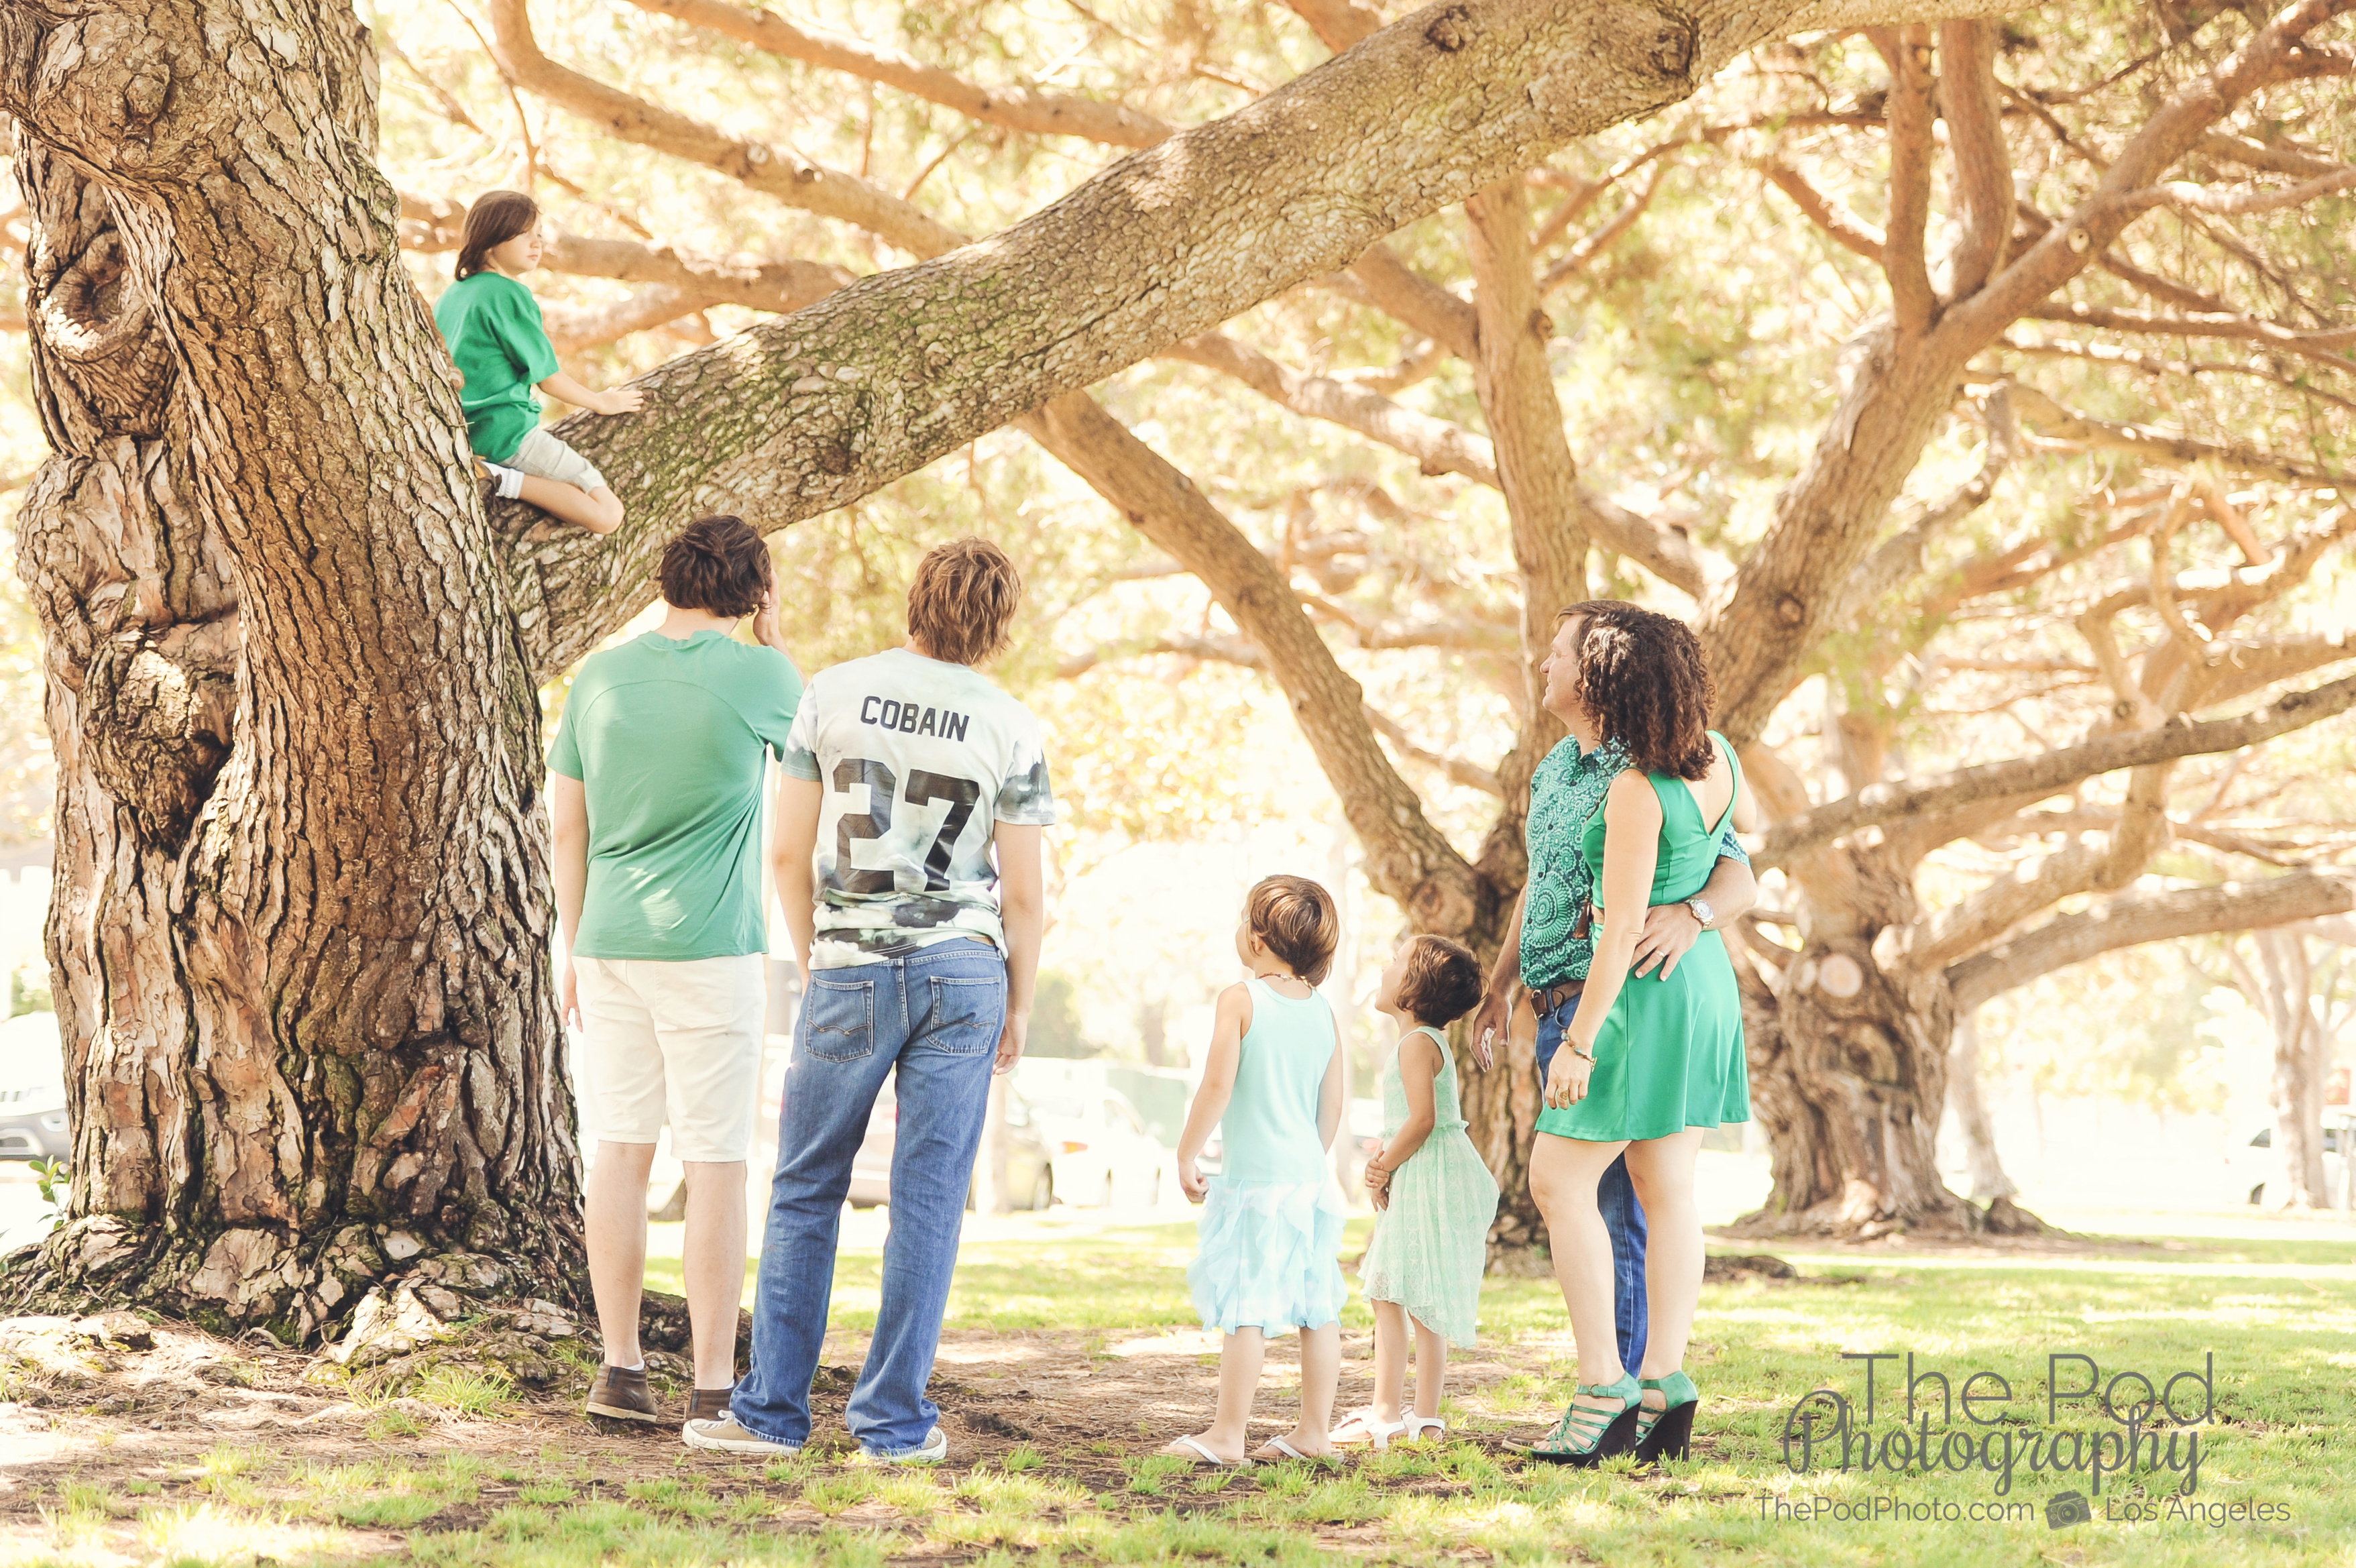
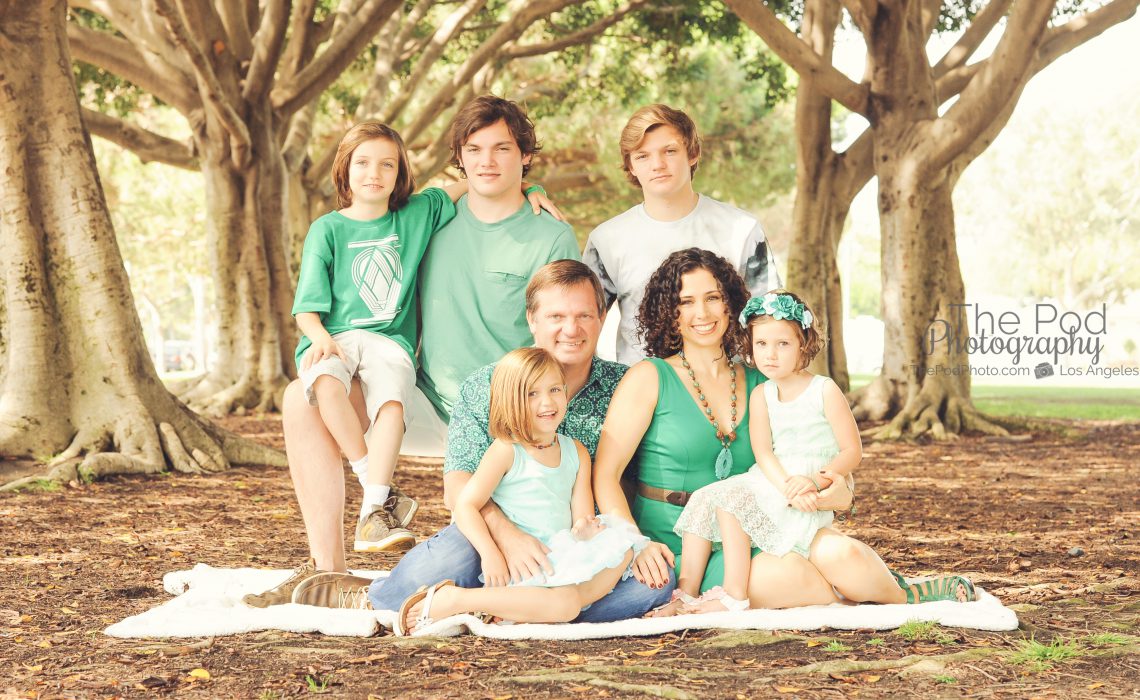
The reason depth comes to mind with this particular photo shoot is because there were so many people: five kids and two adults! Stacking them perfectly, creating the perfect little nook for each family member’s body to fit – plus I needed to constantly re-adjust my camera’s f/stop as we moved from big groups to smaller ones and then individual photos. When you are shooting a big group, you obviously want everyone to be in focus – therefor I shoot with f/5.6 or f/8 with this many people. Then, when we get to individuals – I like to really blur the background and so I switch to f/2.8.
On a more personal note about this Santa Monica family – they are one of our favorites. When we got the call that they wanted to schedule a session we were so so excited! Every time they come for photos their outfits and the colors they use (another reason I started with topic of color for this blog post) are so spot on! We have known them since before their youngest daughter was born and it has been a pleasure watching their family grow as our studio has also grown. They were one of the first families to come to our Culver City photography studio and, needless to say, our sets, props and the luxury of the studio has changed quite a bit since then!